Thx i found by myself but thx 
@Costorella_Stefano Just good that you got it figured out.
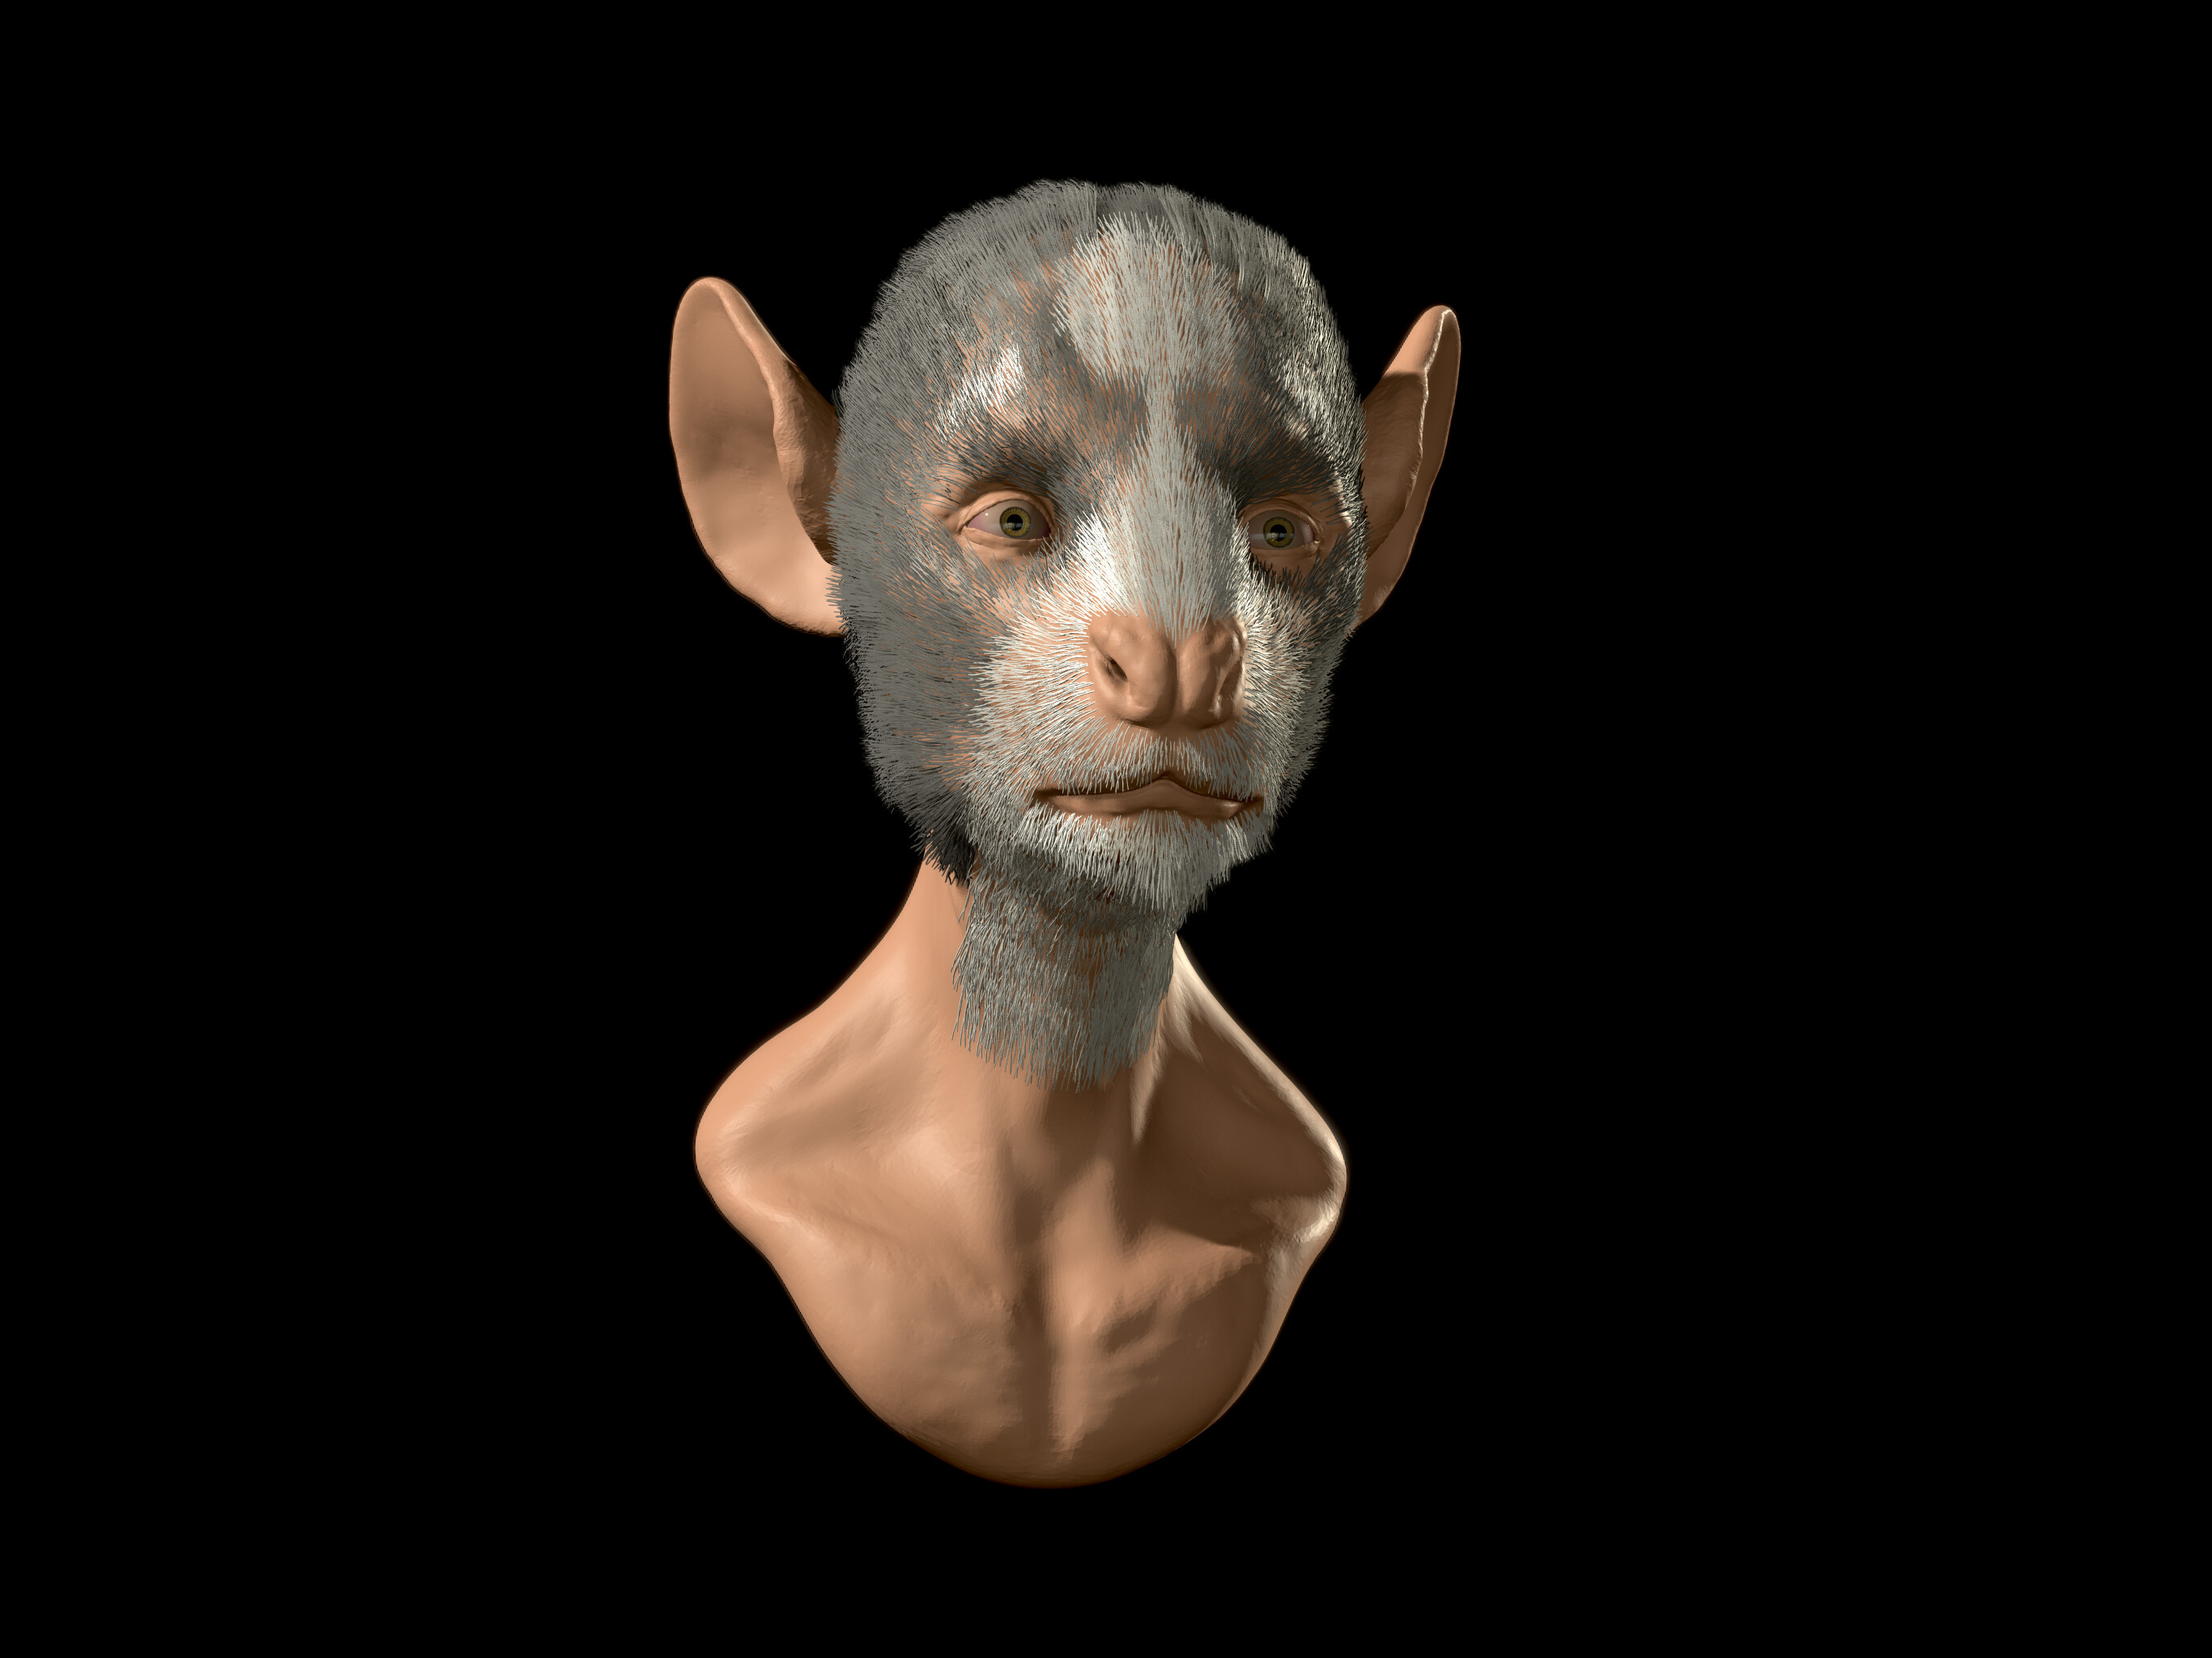
And another hair test. This time I thought I’d try some fur. I created a few little tufts of different lengths and copied them out. Took quite a while, but I still like the result. It certainly shows to me that Nomad can easily handle it if I need it. At the moment it’s showing at just 2.55M with the fur.
9 Likes
This is great!
We’re gonna want groom tools now 
Freaking awesome Sporky! You are a real Nomad pioneer! 
DEFINITELY need folders. I don’t think it’ll make things too complex, cascading folders have been around long enough now. 
1 Like
How you make fur in nomad ? Incredibe work
Thanks guys. And yeah, groom tools would be awesome. Technically, the move tool works. One hair at a time…lol. It’s a bit slow, bit it works.
@Costorella_Stefano One hair at a time. Well, until I get about 10-20 in a decent tuft. Then simple merge them and copy them out one at a time and place them where they need to go.
Just saw that there’s a way to copy from the gizmo now. That would have been quite helpful before.
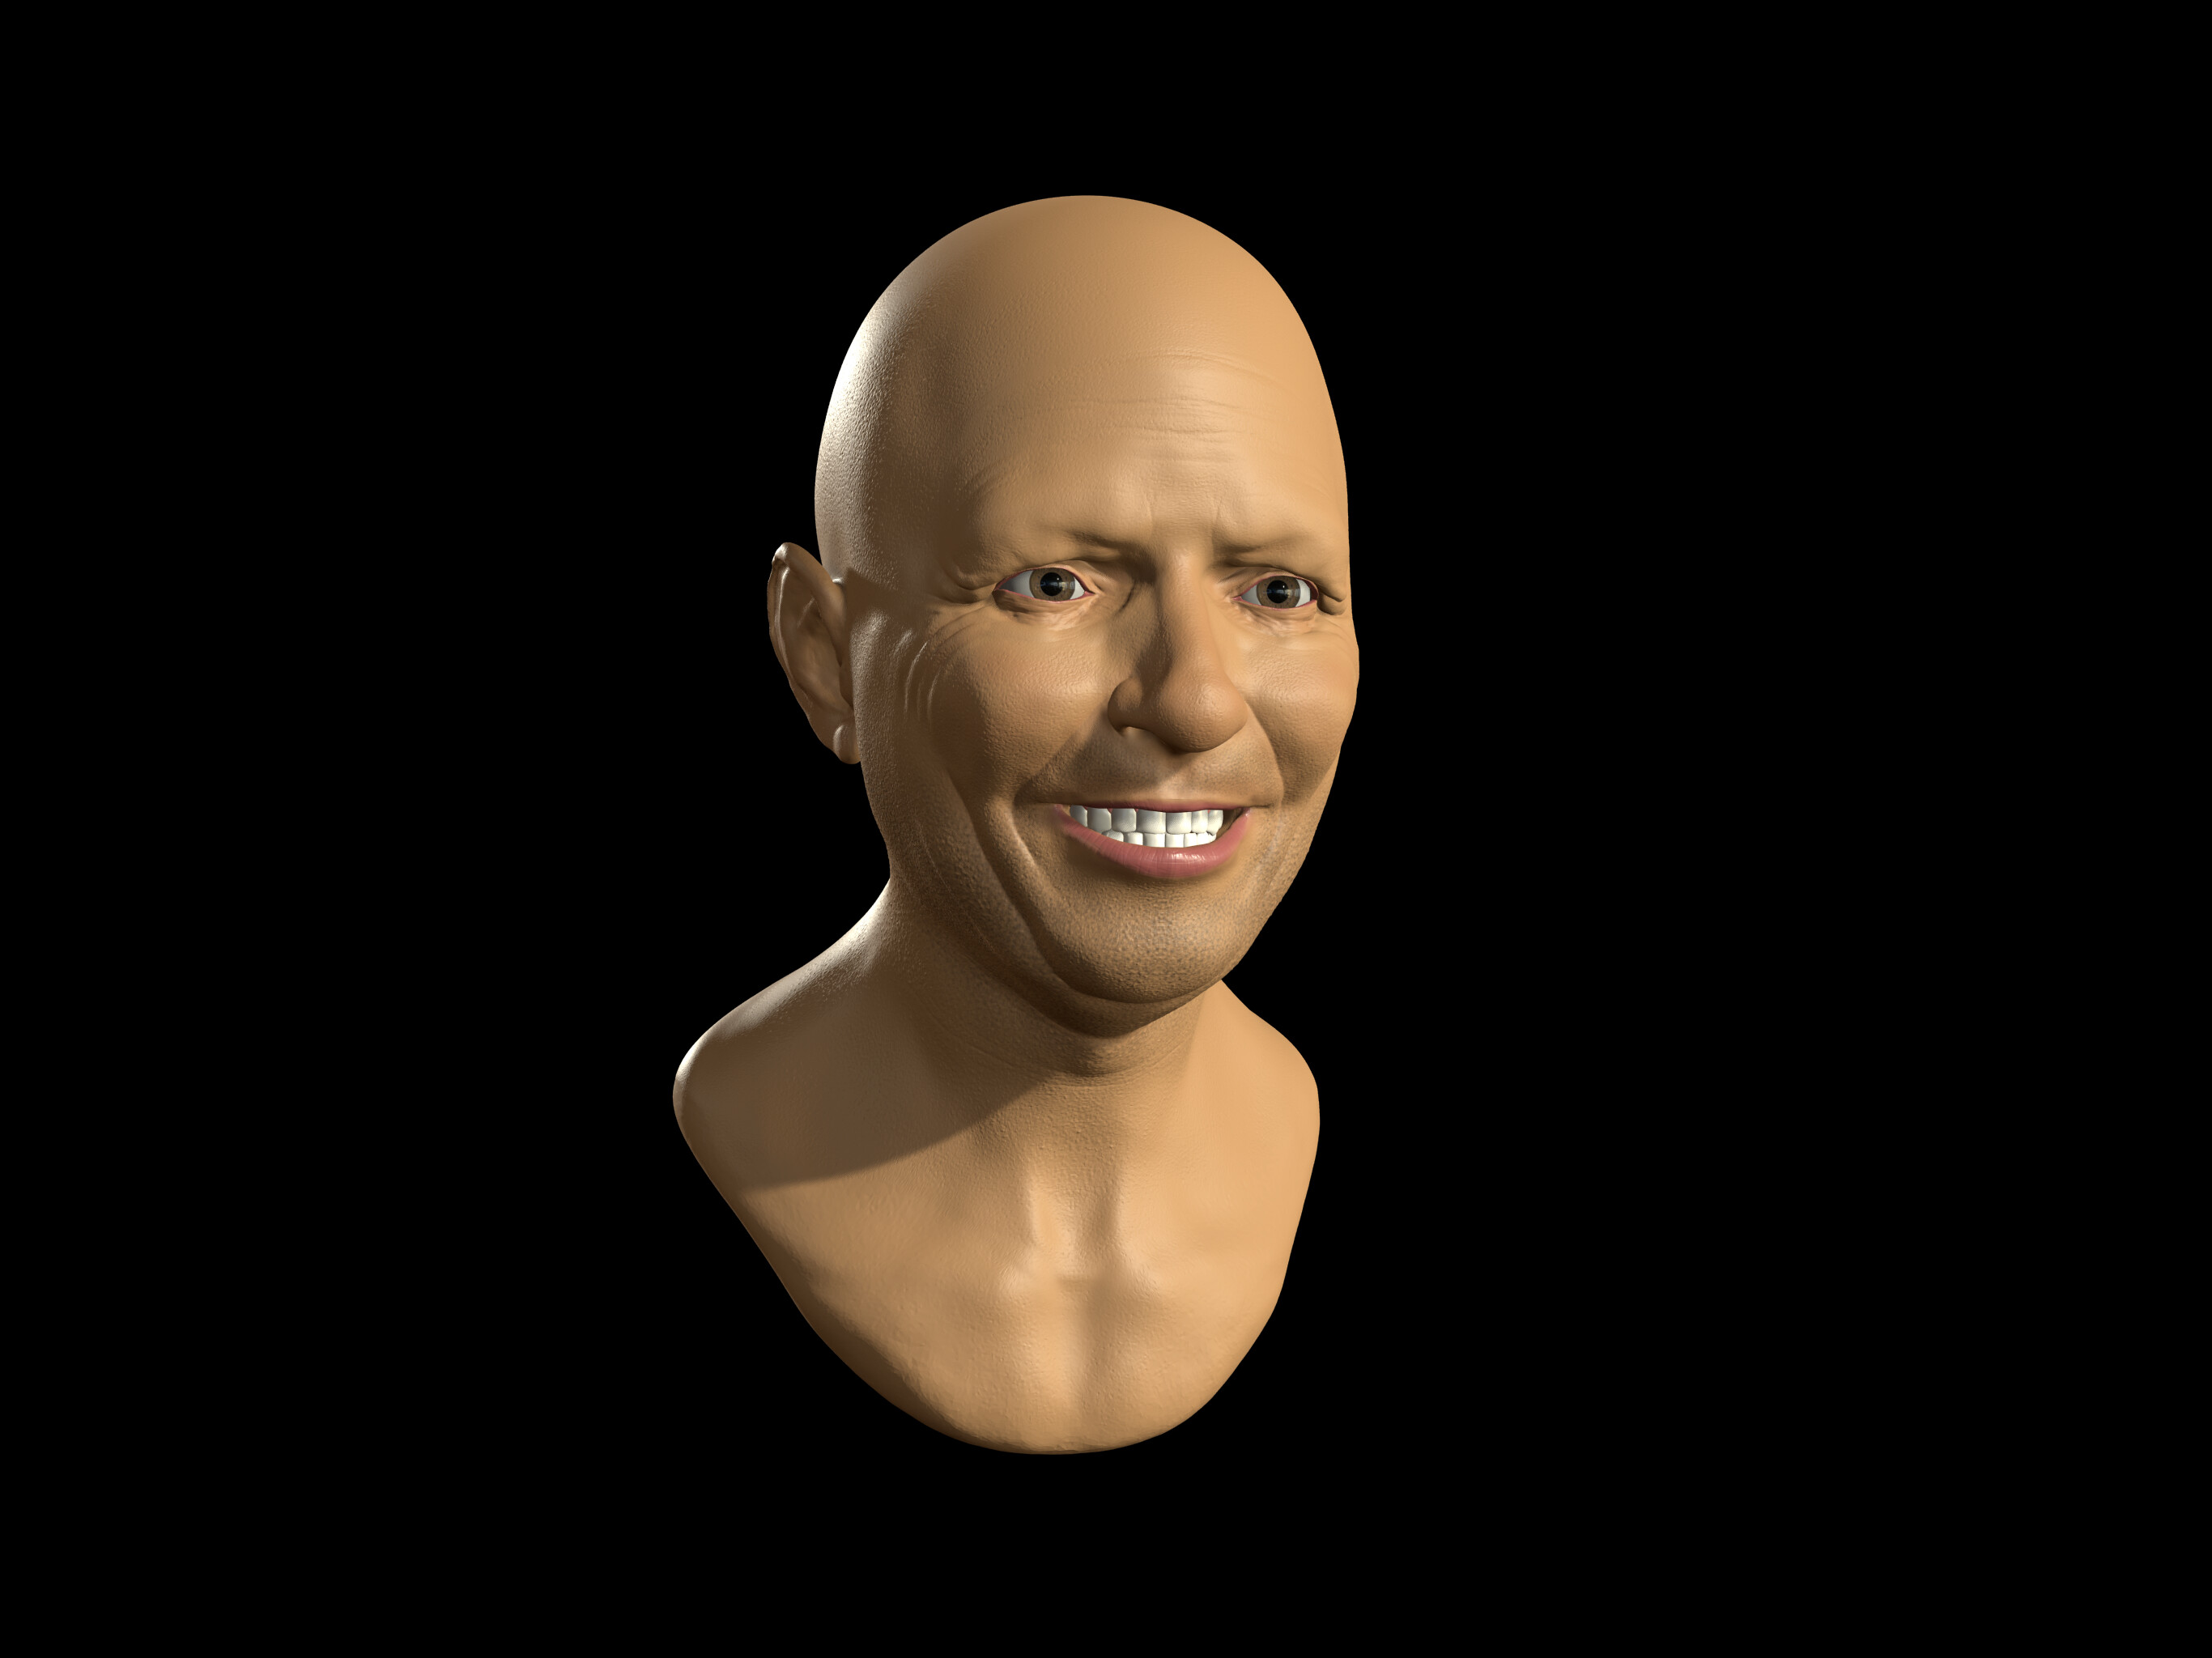
Worked on a couple different sculpts yesterday between work, but nothing looked just right for what I wanted to try some more hair on. But, I happened to see an interesting video last night from a sculptor named Ruben Orozco Loza. Thought I’d try a much faster version (he said his pieces can take many months, but they also come out amazing). So I made this head today for a base to try out some more hair.
1 Like
Nice! Can’t wait to see your hair improvements due to clone function.
Works quite nice, but only with dragging the gizmo. Entering a number in digital input and pressing enter does not clone. No prob for hair though. More for precise technical work.
Great test!!
Very cool to see your success with these hard surface geers. I ‘m interested in your comment about the voxel merge. I’ve spent several sessions trying to pin down ideal settings for getting clean edges with poly counts that are still manageable. I can’t say that I’ve really been successful. I notice that if you crank up the details on both objects, do the merge, and then remesh up and down one or even two more times, there is a kind of evening out. It seems like a fairly primitive approach. If you have any further guidance or insight, I’d love to hear it! Happy sculpting! - Joshua
@knacki yeah, that clone tool makes it a lot quicker. I probably should have spent more time with certain areas, but it’s still not coming out too badly. Just so much work lately that I haven’t had a lot of time to get it done.
@CharlesLG considering how well nomad can handle it, maybe one day stephomi will get a chance to add an official way to do it.
@mythfits That was quite a while back…lol. But yeah, I found it needed to be quite heavy for those crisp edges as well. Now that I’ve had a lot more time with Nomad, and with all the improvements in the trim, I think that it can be done a lot lighter now. Let me give it a try and see how it comes out.
You can keep all of your pieces lighter by dropping down the segments of the primitive before verification. Use the trim to keep some crisp edges. Then, instead of using voxel merge, just simple merge all of the objects. Here’s a quick gear as an example. Came out showing 28.1k.

You can also see the difference for voxel merging. One is pretty high to maintain most of the edges, and the other is what it looks like down to a similar count.
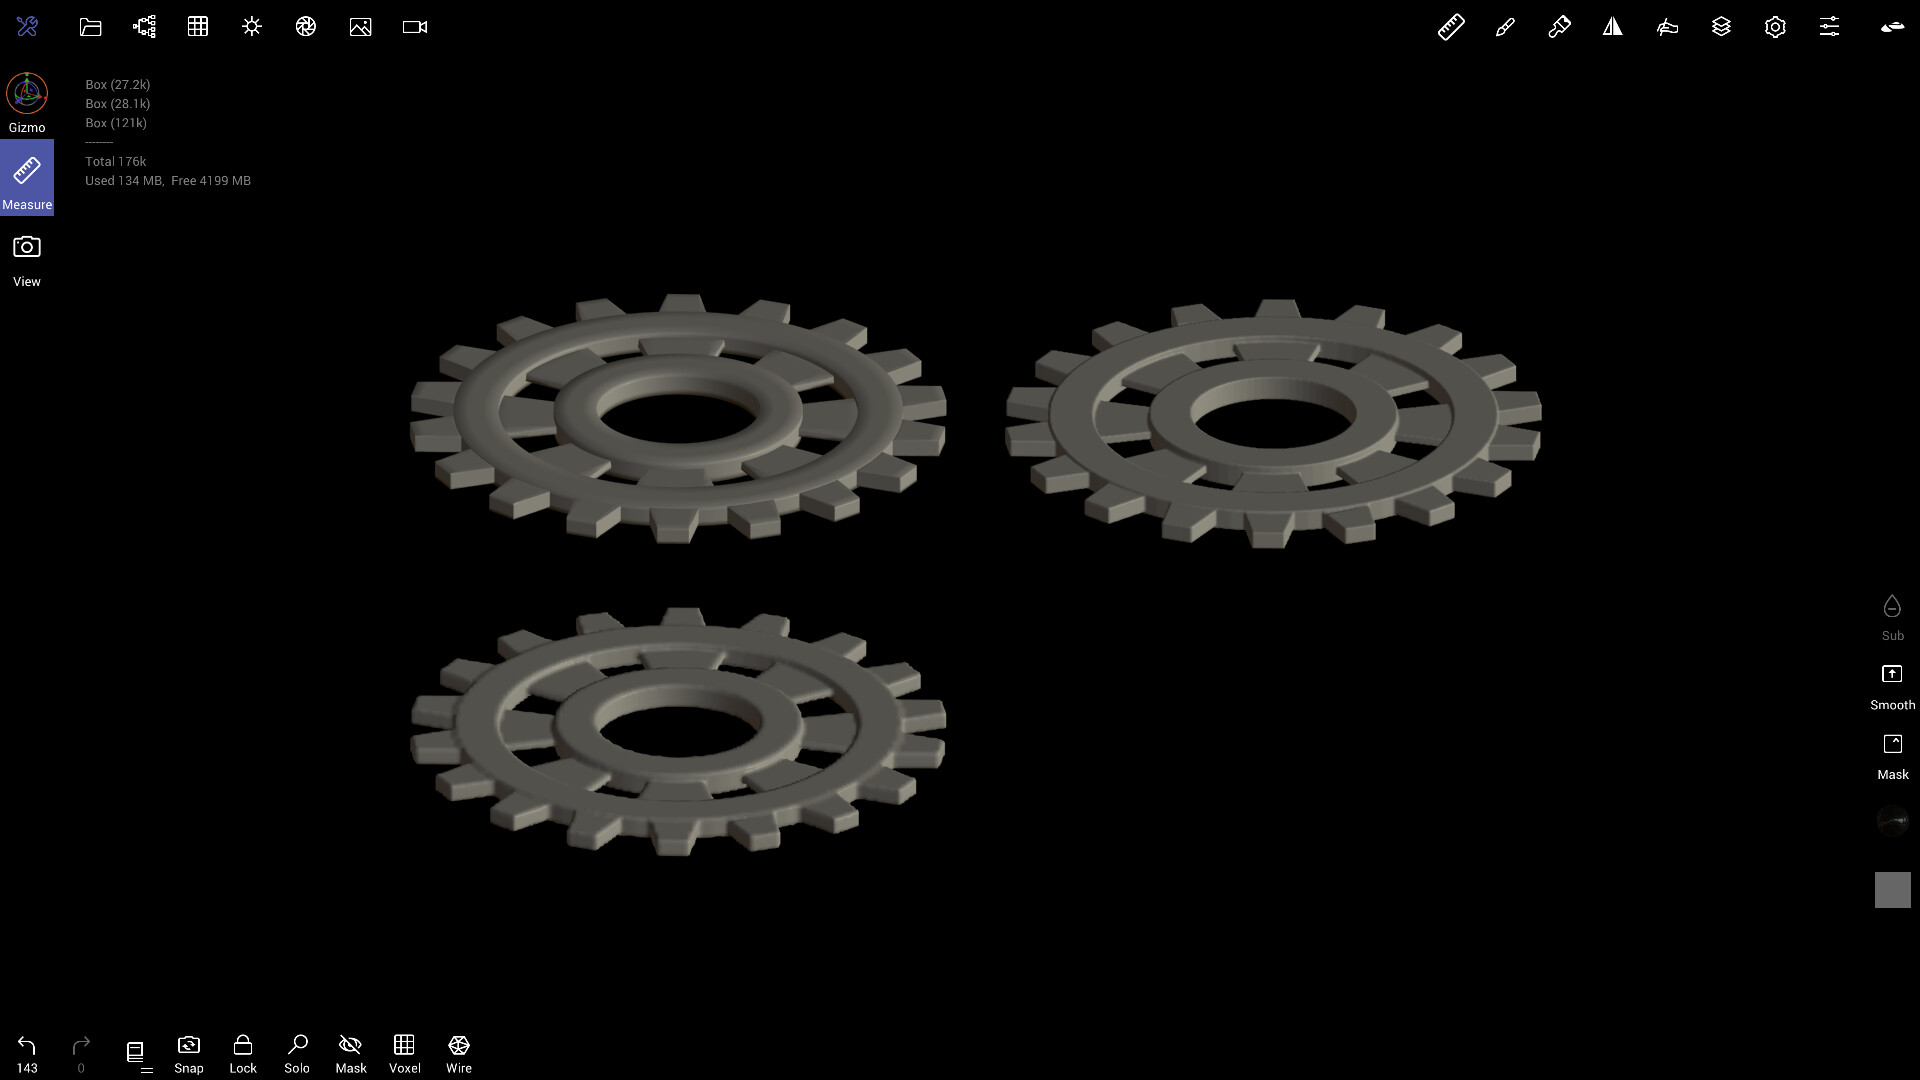

And just noticed a really dense area on the first gear. Had I paid attention earlier, it should be much lower.
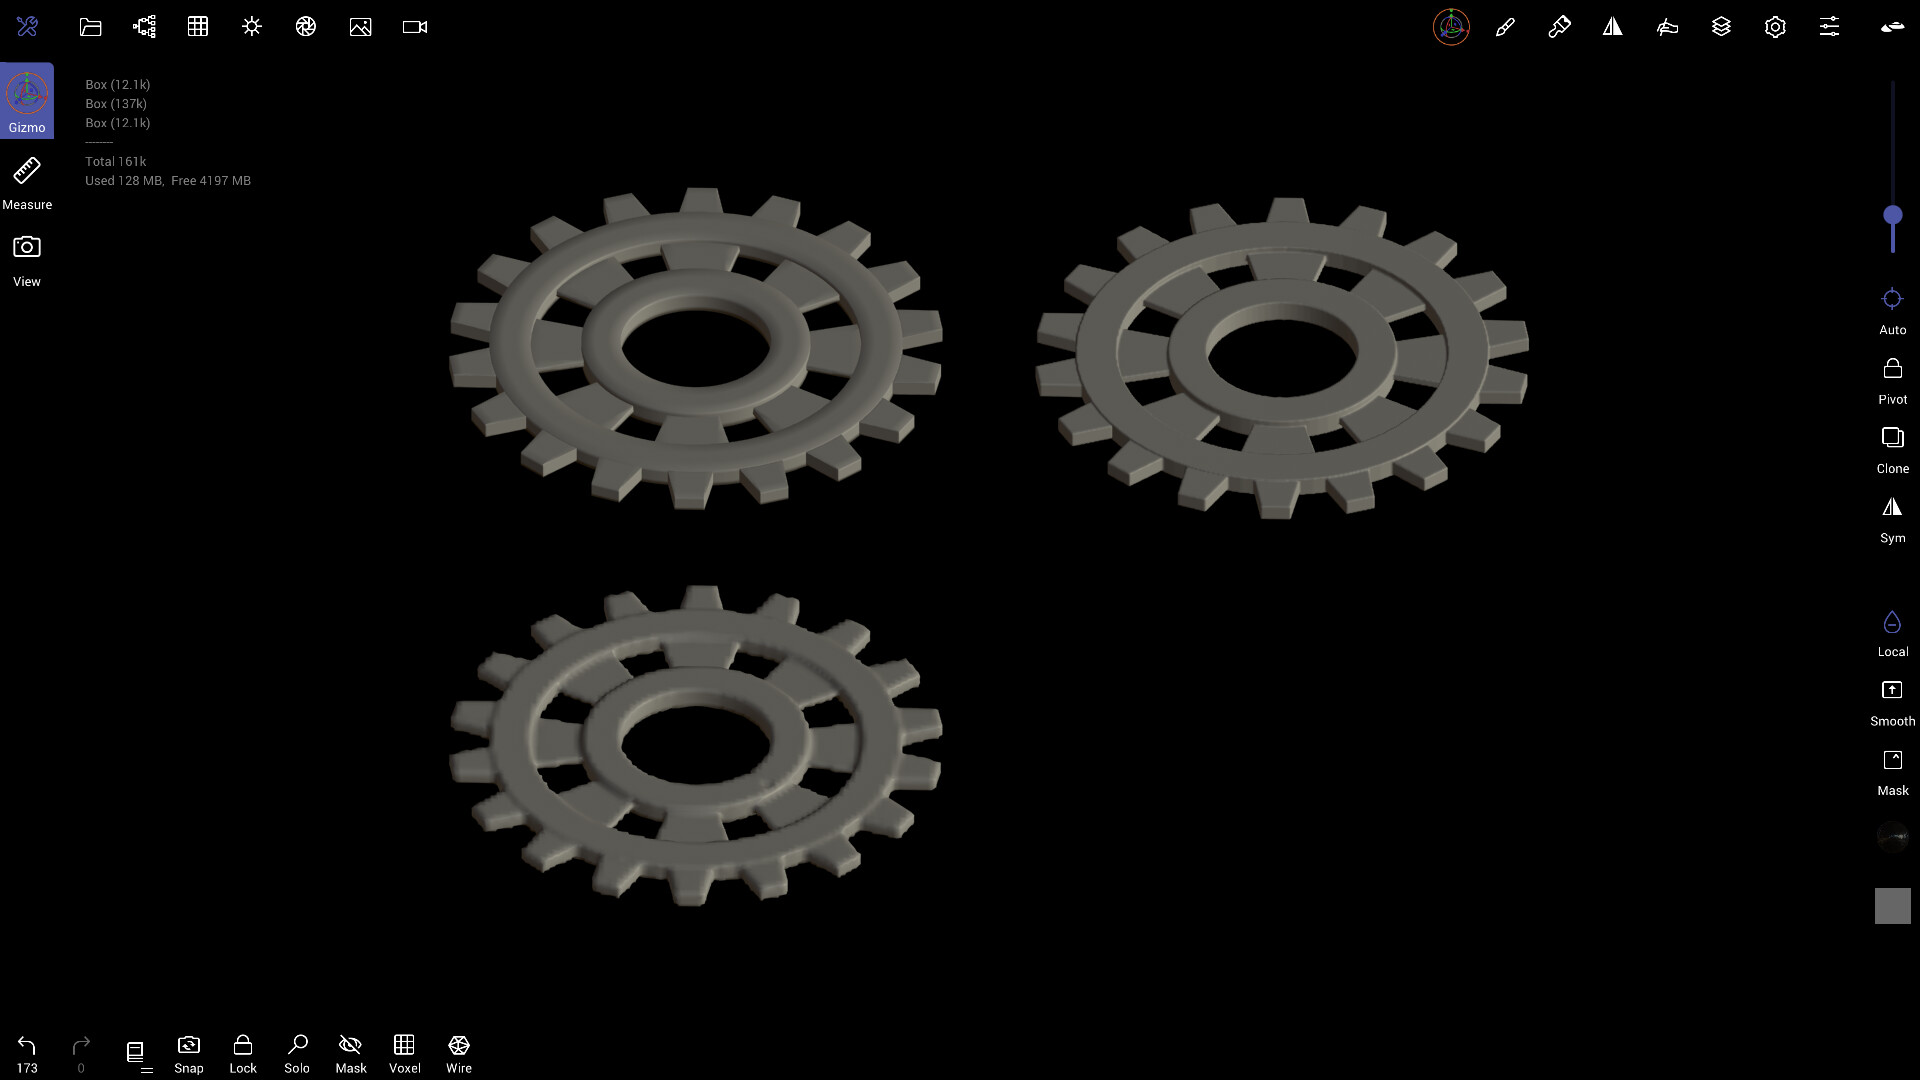
Ok. I found the problem. Actual size is 12.1k. And the similar comparisons to the voxel merge.

1 Like
That’s awesome, Sporky. Serious stuff. Need to check this ASAP.
Wow! Thank you so much for addressing this. Let me see if I have properly understood you. There are three approaches here. The one on the right is either a high poly unverified simple merge, (in which case I assume that this is what you used to create in and then reduced divisions to produce the left top image), or the one on the right is a high poly voxel merge (I think it’s the former, rather than the latter). The one on the top left is the success story. It’s a simple merged relatively low poly object. I assume that you built the parts at higher resolution, and then reduced. What method did you use for the reduction? Finally, you have the bottom left object, which is the voxel mesh, which has all the detail issues we’re trying to avoid. Thanks again. I would be very pleased to be able to sustain and work with the crispness of the model in the upper left.
Actually, the top left is how it was created initially with all of the parts separate and then simple merged so it moves as 1 object. I used already decimated primitives by reducing the segments in the “Topology” tab before validating the object. It could have possibly been reduced further from the 12.1K vertices but I figured it should still be workable without going too far.
The top right is how dense it needs to be when using voxel remesh in order to maintain some decent edges (137k). Currently over 10 times the original amount.
The bottom left was just more of a test to show how it would look with voxel remesh to the same number of vertices (12.1k) as the first object using simple merge.
Tried this gear thing. I really missed a grid centre line and snapping. Is there anything? Numerical input for translation didn’t give the expected result. So I just used manual rotate ending not in 100% perfect results.
I could kept resolution extrem low. One gear tooth was just 8 vertices very easy to deform. But later, Put 3x flat subdivisions on it - validate and subdivided again for a more bevelled look.
Fun, but could be way more efficient with simple array functions.
When I start, I make sure the primitive stays where it originates. Once it’s moved, technically you can use local mirroring, I just prefer to keep it where it starts to keep it easier for me. Plus, mirroring the teeth of a gear can be a pain once it’s moved.
For the teeth, I make 1 and set it where it needs to go and then mirror it. Now the gizmo setting will step the rotation properly at the center of the main object. Now you just need to make the copies and rotate them into place. Everything should be pretty precise that way.
1 Like
I love it…you are very talented.
I like this one ![]() the art you make I mean.
the art you make I mean.
Thanks guys. Still having fun learning more with the program.
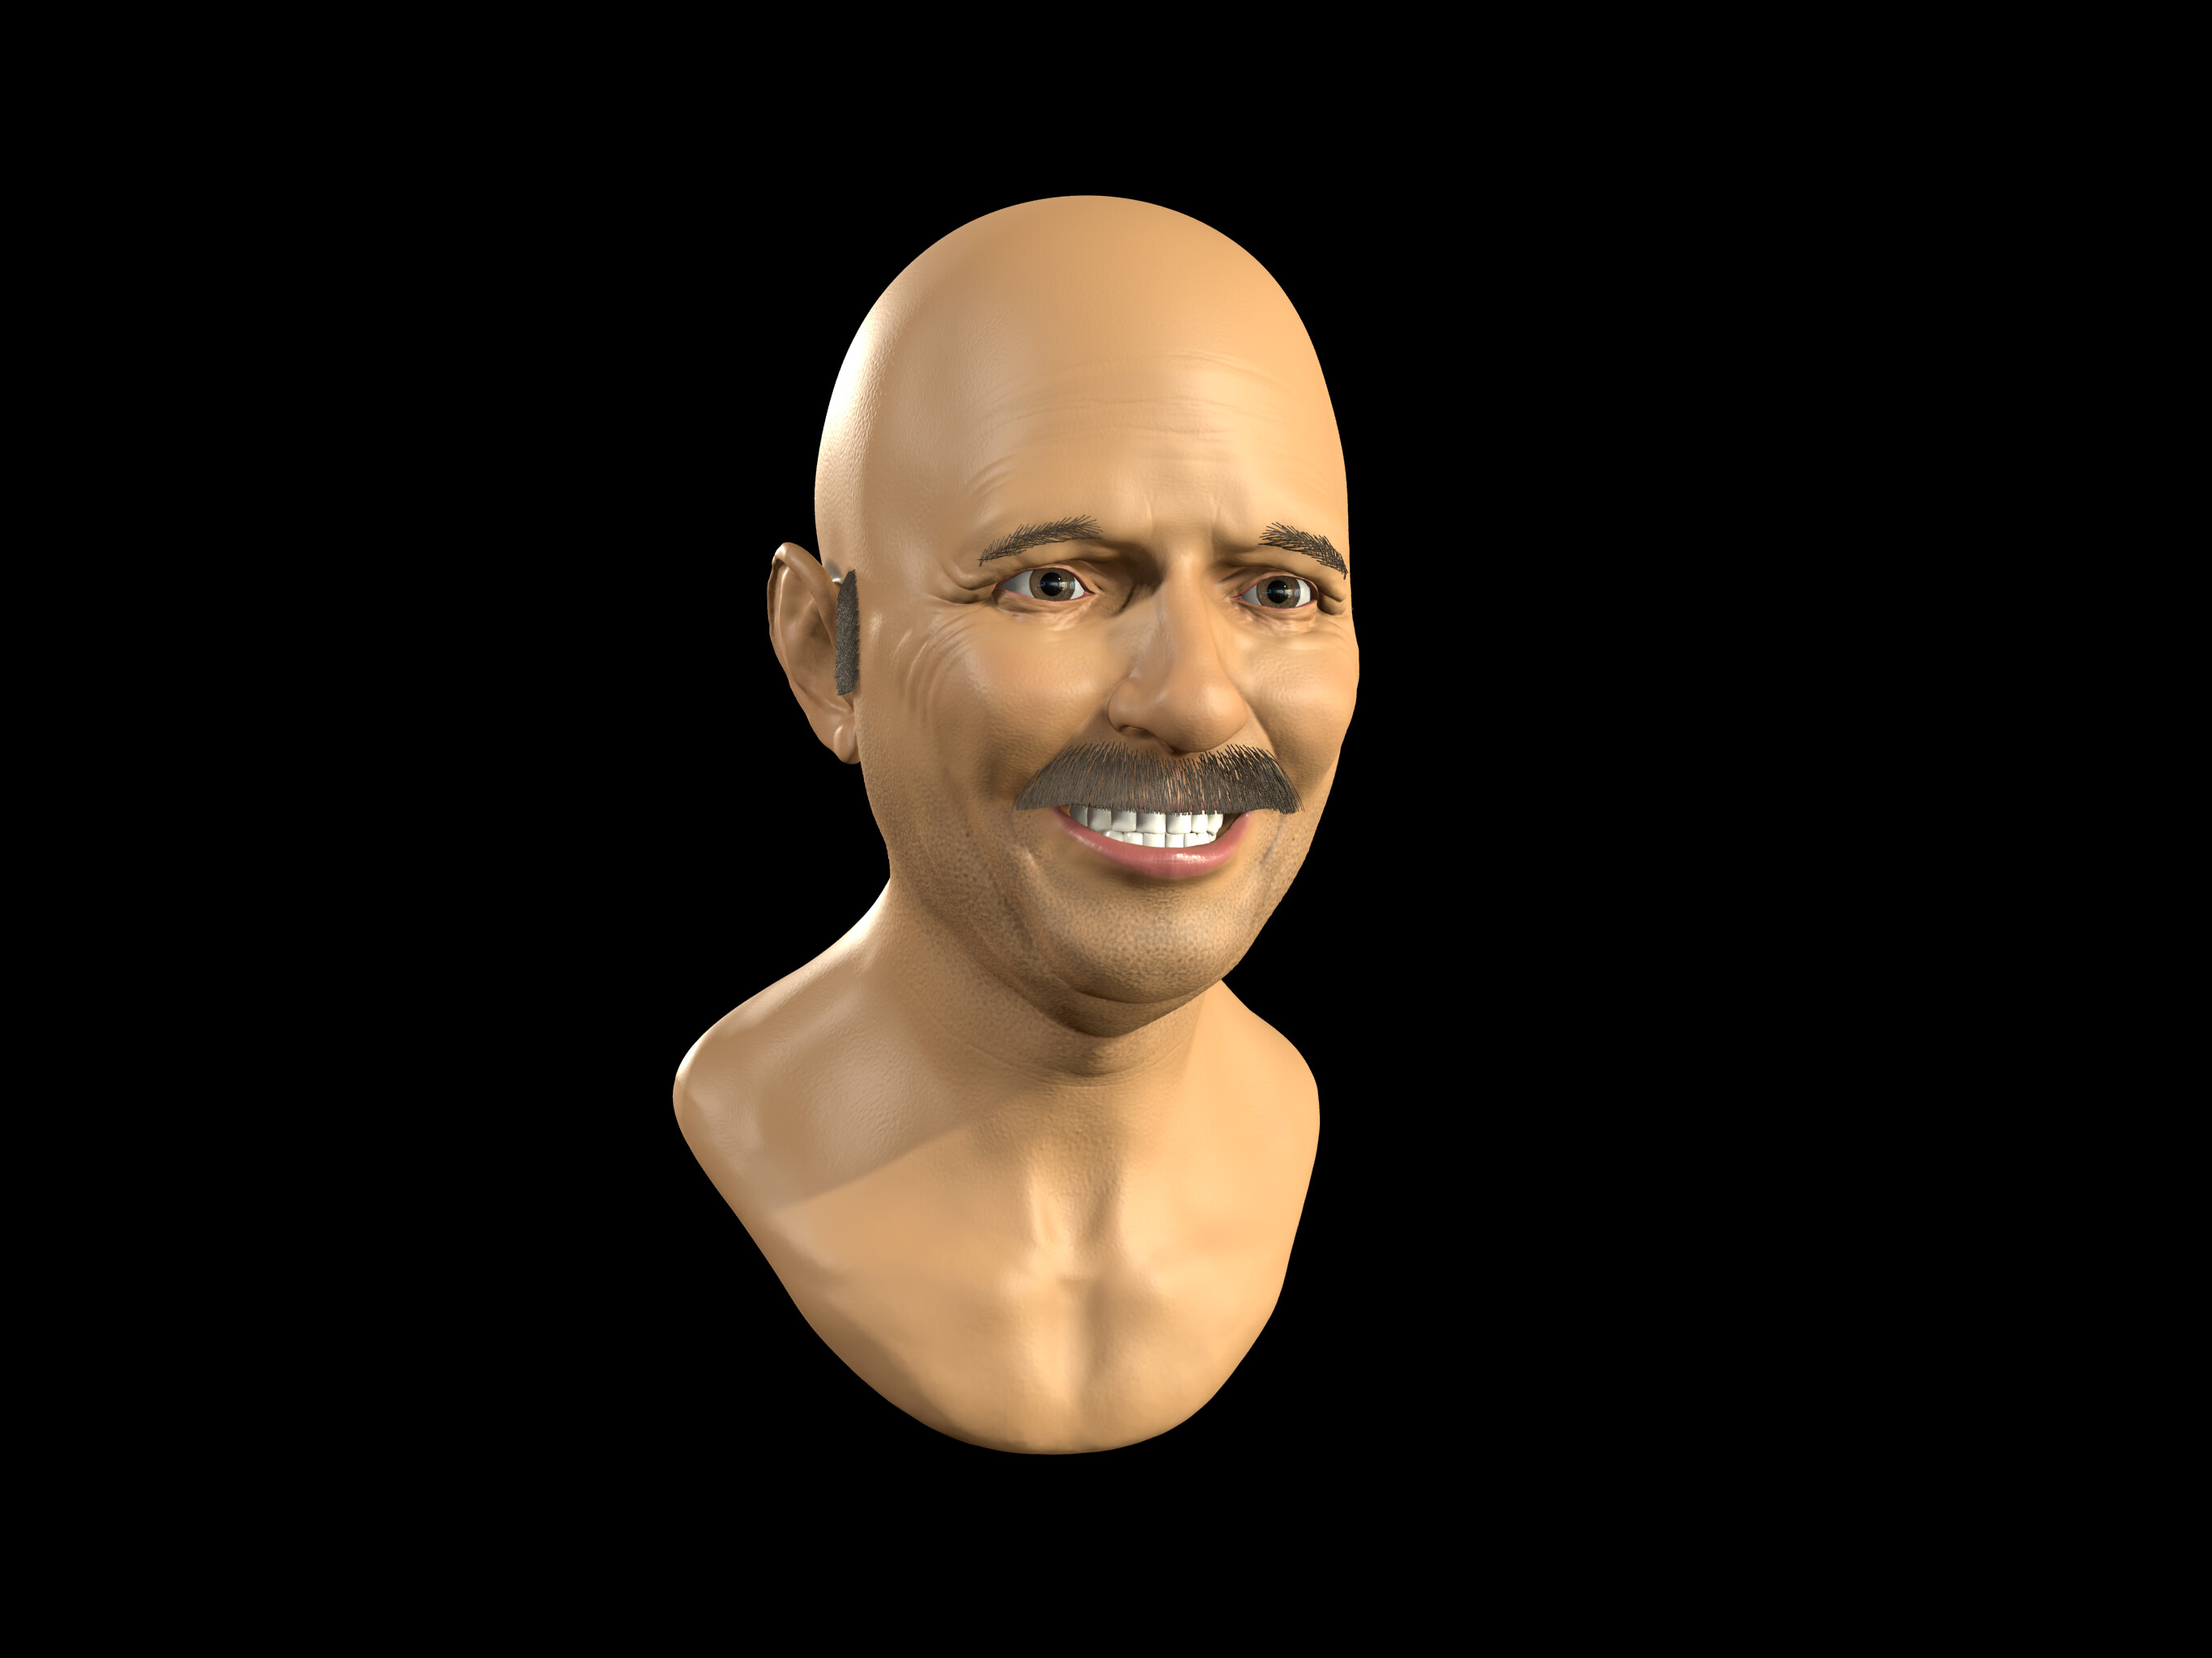
Been trying to do more tests with hair. Never really saved out the results, but it’s still been fun. I did do some hair on the face of that last guy though. Reminds me of a weird looking Mario with that mustache.
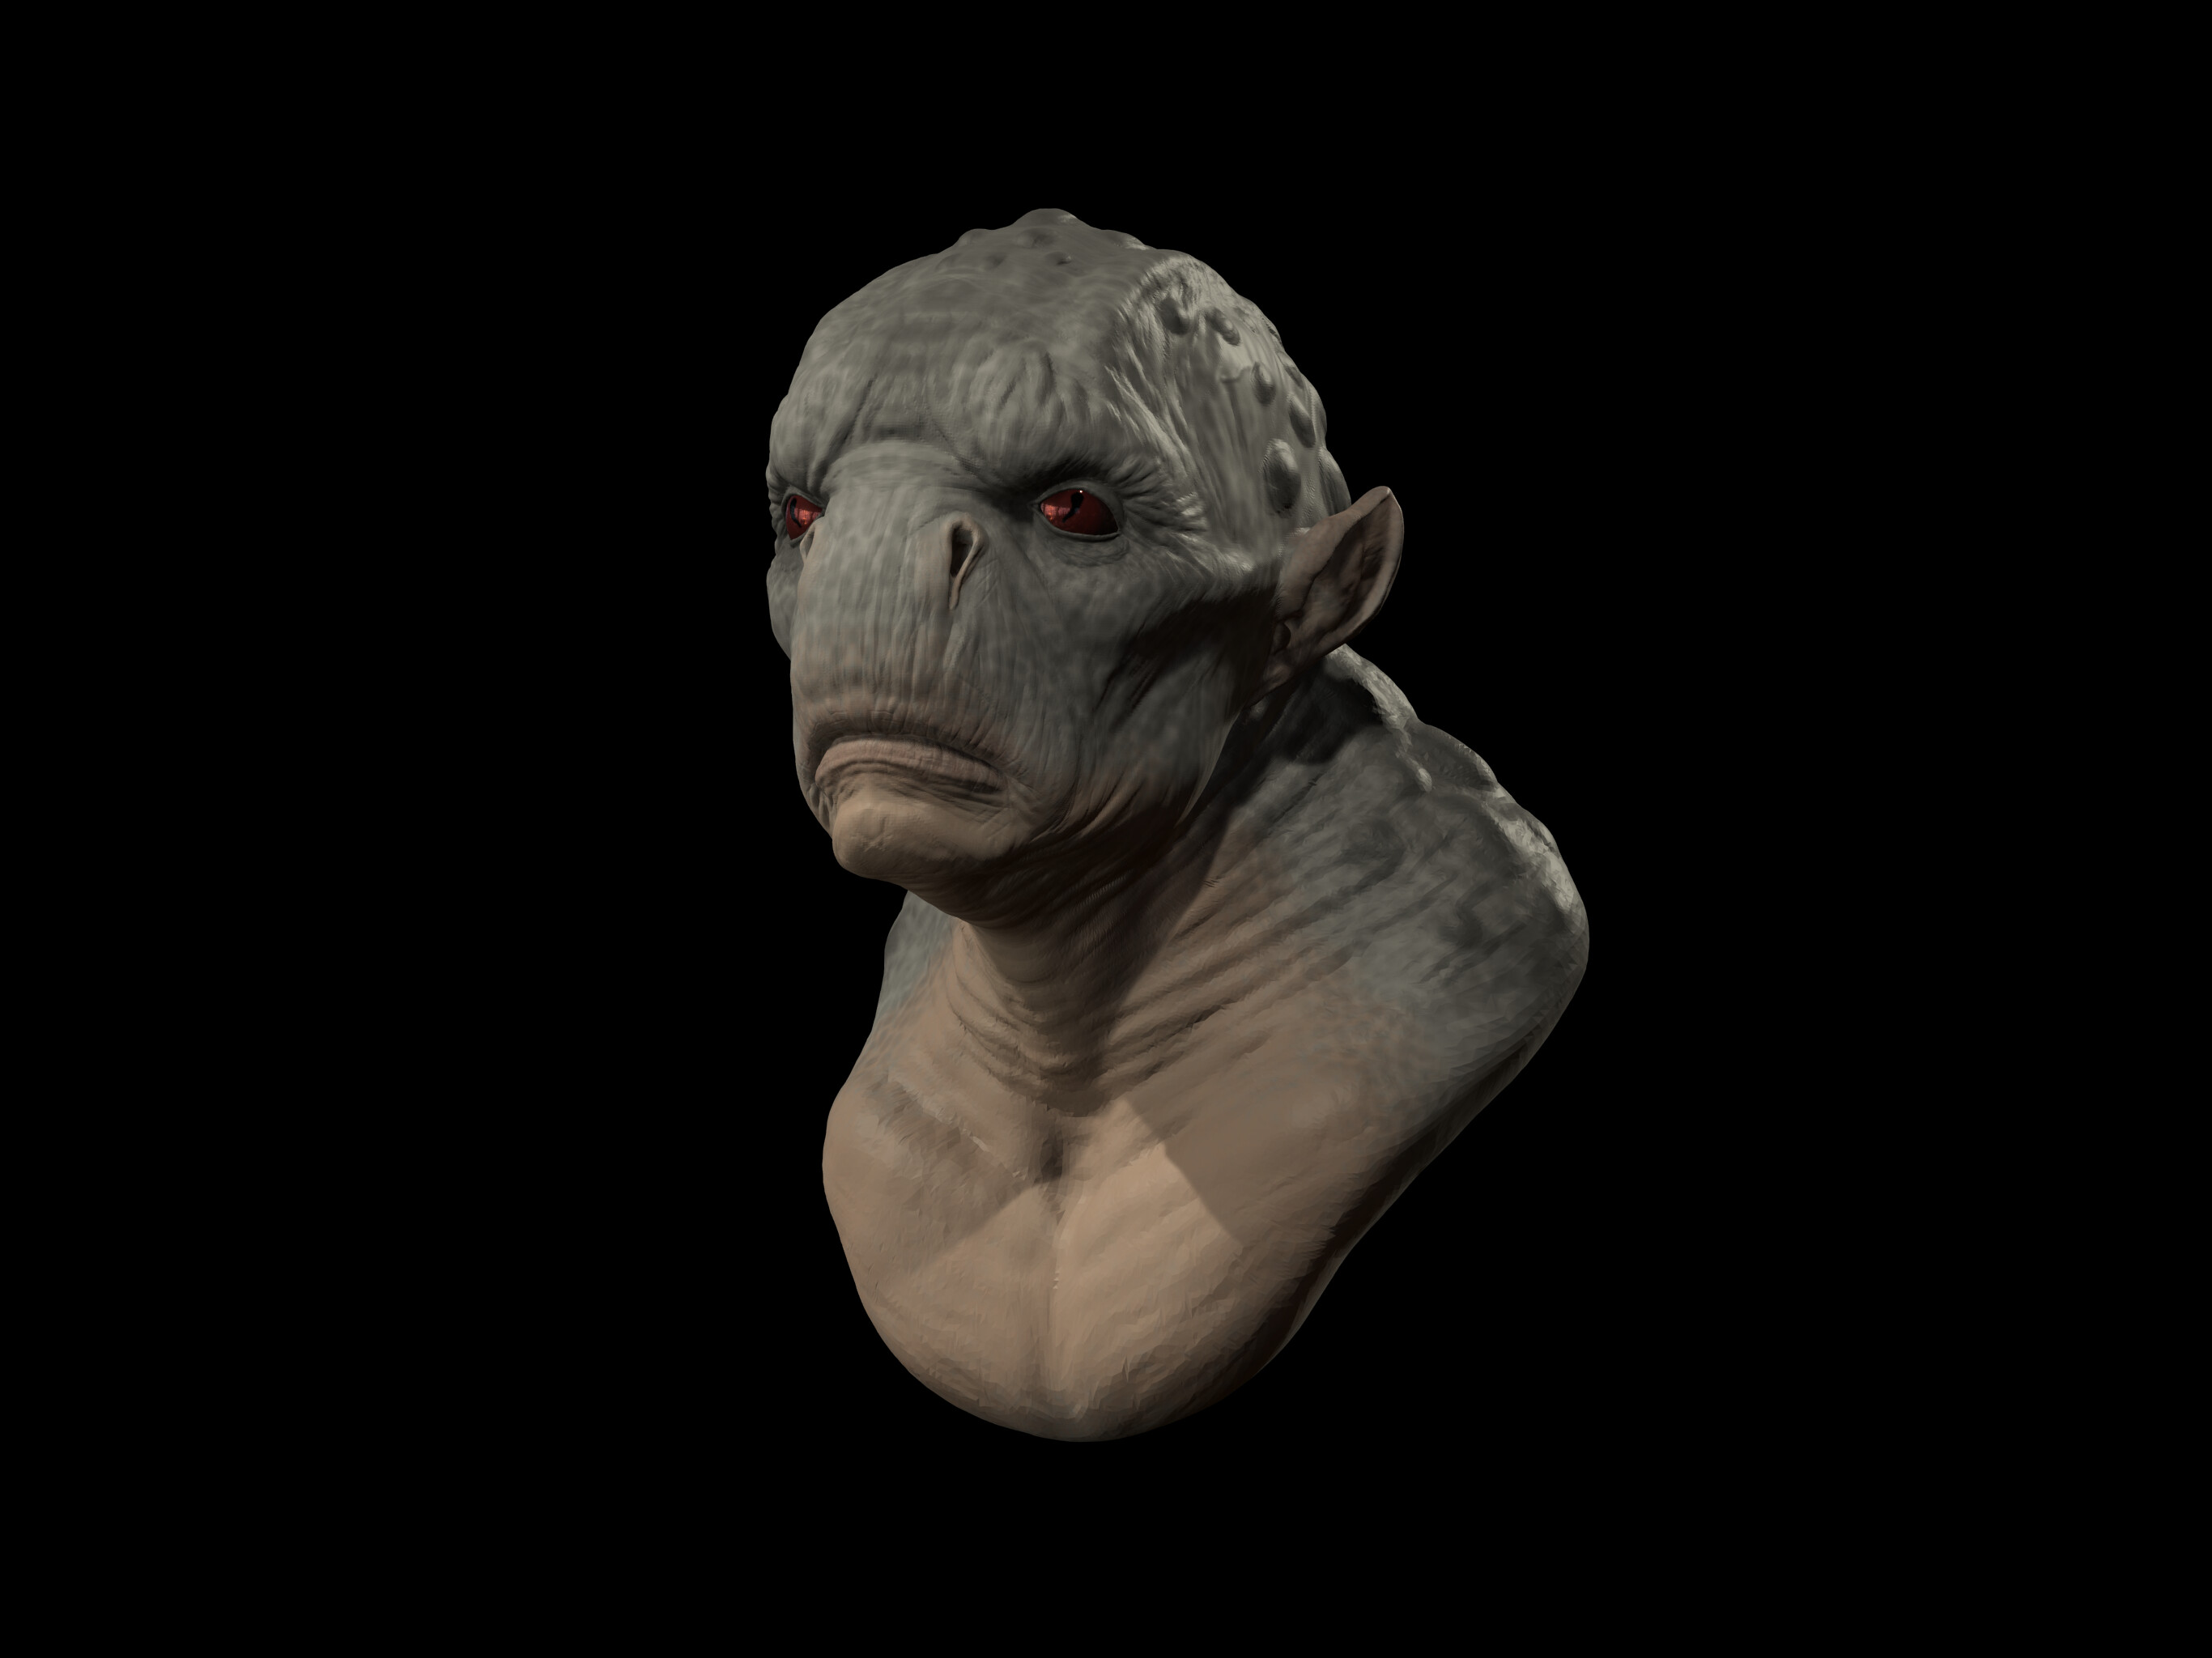
Did a few other things, but I just found the one image of a quick kind of alien head.
And for my latest break from the hair, I started a head that started to look like a triceratops. Went with it, but he then needed a body. Kept the detail on the body low and wasn’t too worried about making everything perfect since it should be covered by some clothing eventually.

10 Likes
This was super helpfu!