Here are some of my works. I printed some of them and painted them.


6 Likes


So that I don’t open a new thread every time, here again some of my latest work…


Uploading: image.png(3)…
6 Likes

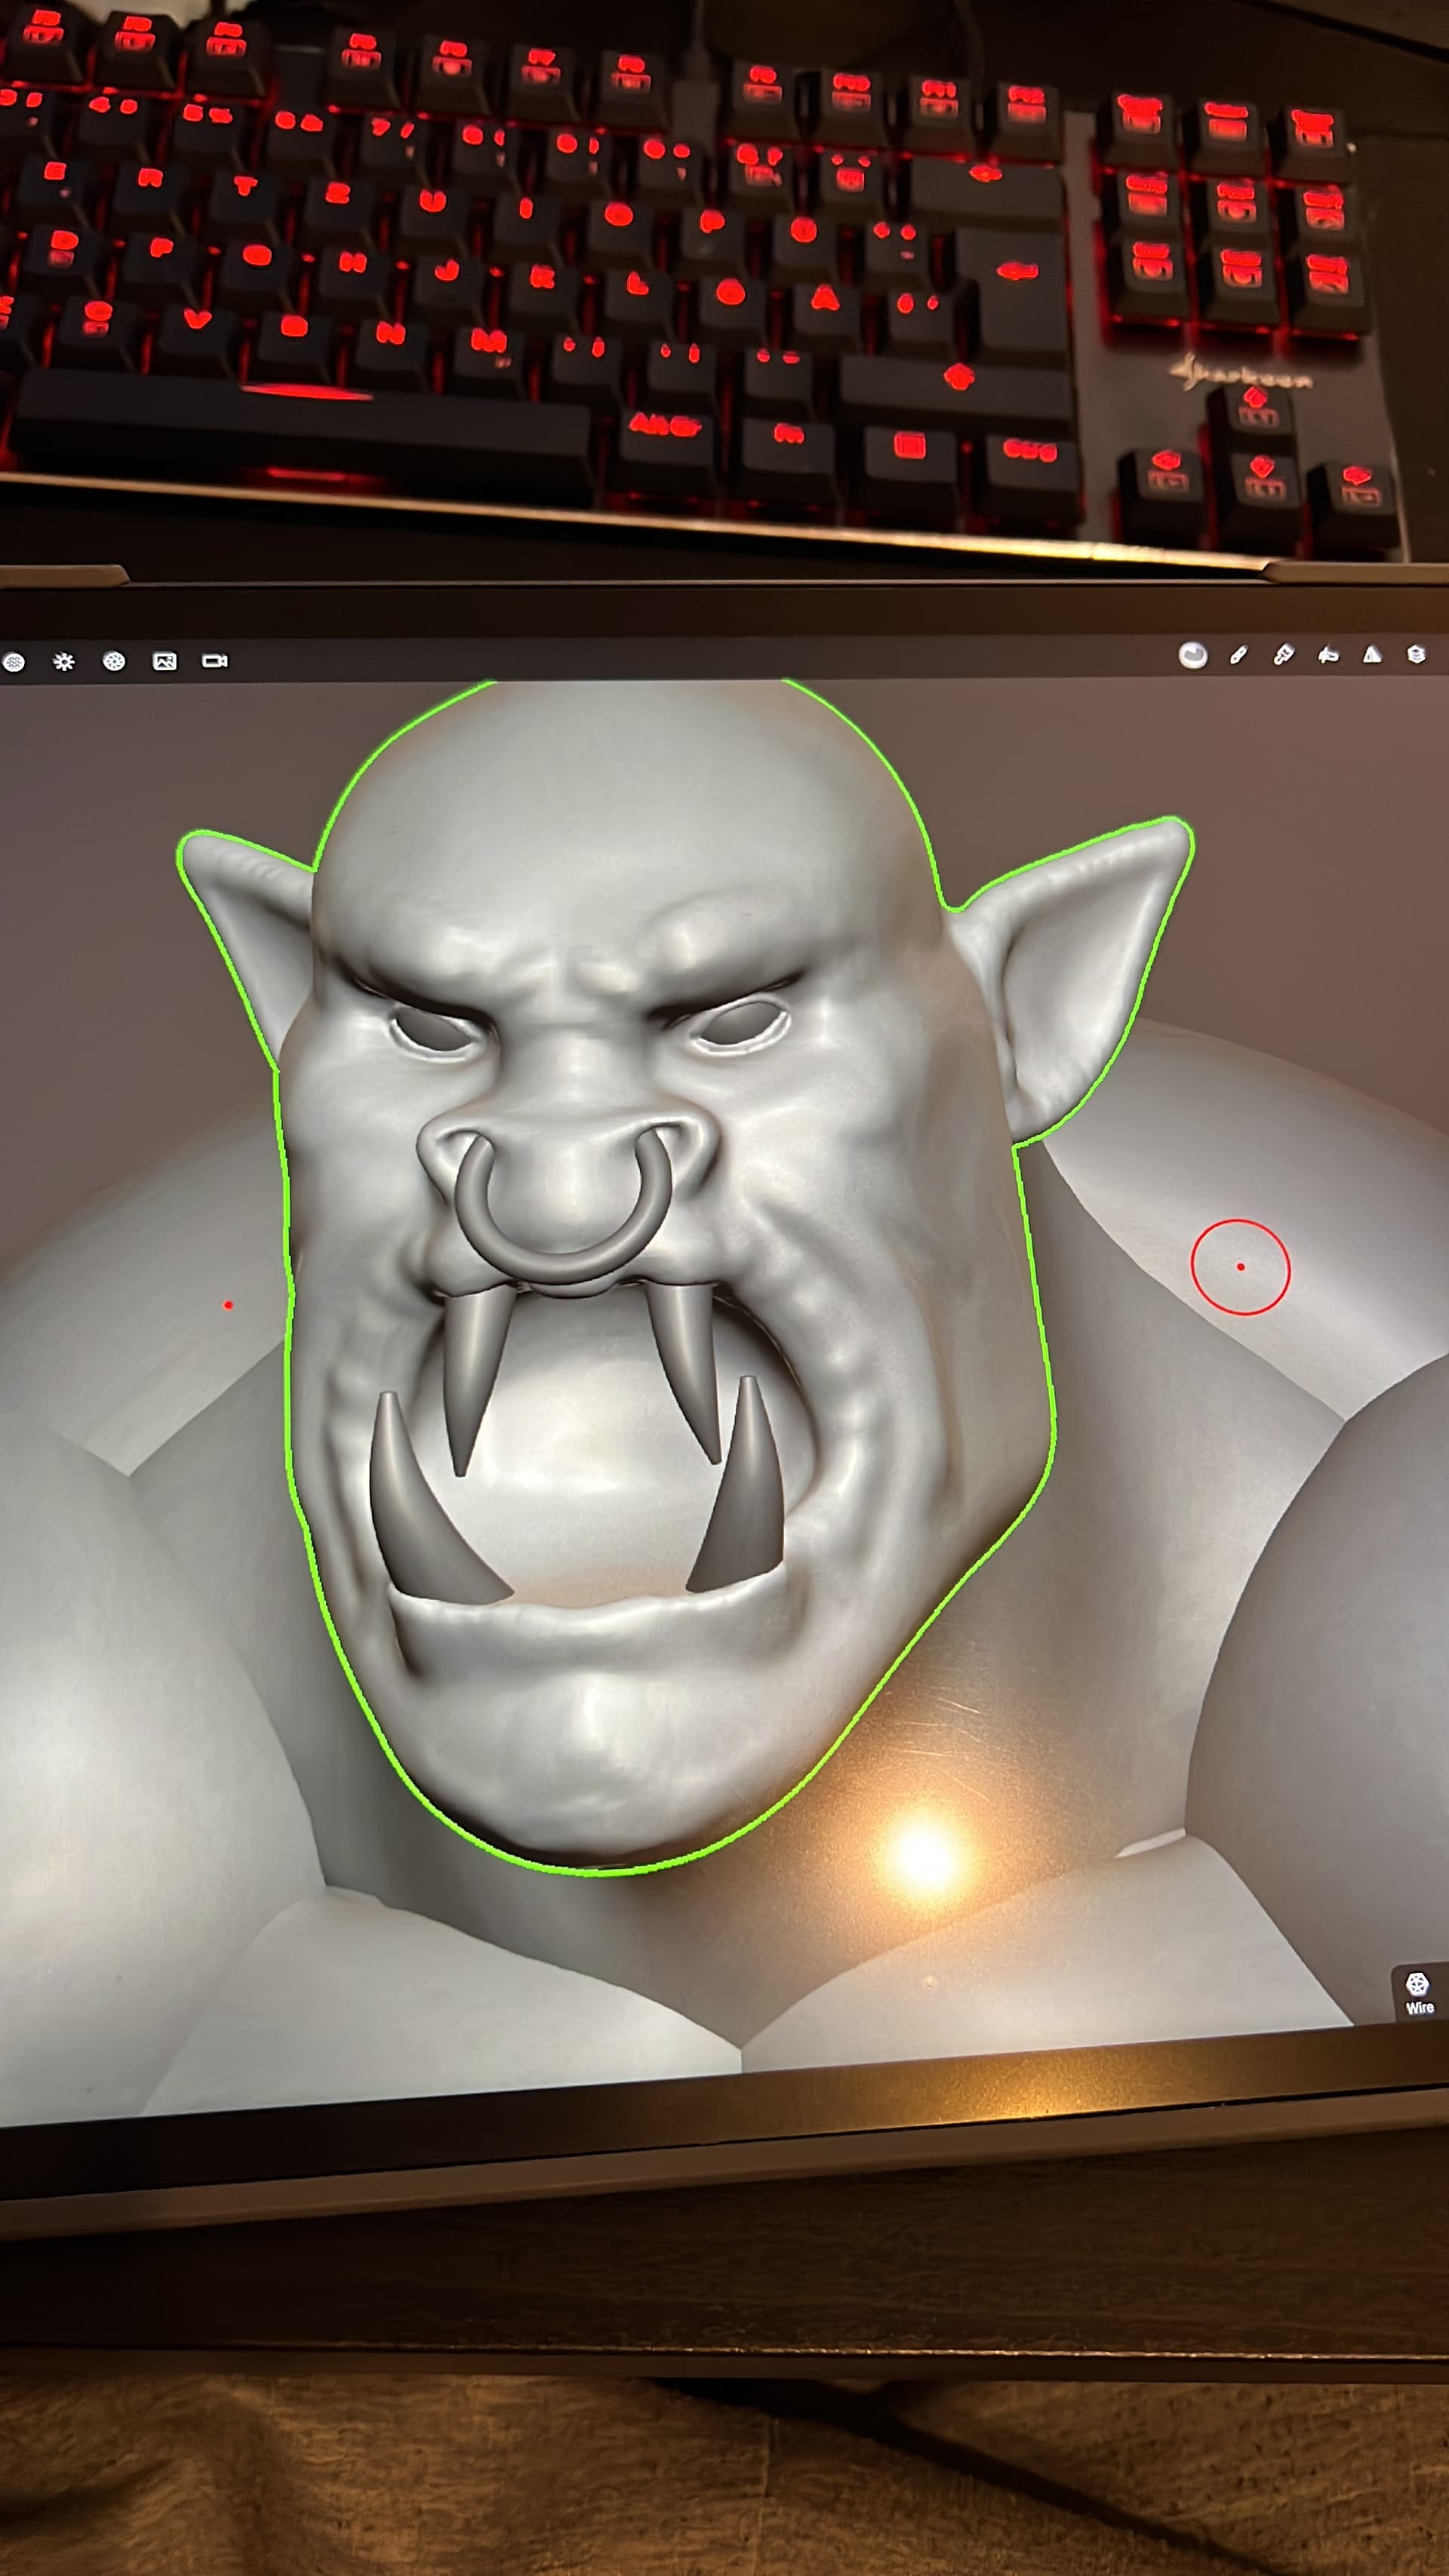
And here, Bebpo again…


6 Likes

Zombie finished.
I’m still having trouble getting the different stages to work together when modeling.
Primary Forms - Primitives, Blockout (Only Move Tool and Gizmo)
Secondary Forms - Muscles, Volume, Proportions (only Voxel Remesh, as Low -Poly as possible, Move, Clay, Crease)
Tertiary Forms - Subdivide/Multires, no more Voxel Remesh and moving parts around
Problems I still have:
- The transition from phase 2 to 3
- Rigging and posing and the problems that arise from it, such as too much polygon, the lack of symmetry when the figure takes a dynamic pose (makes it hard to edit afterwards).
- Lighting (3 Point Lightning often looks wrong)
- I don’t yet have a sense of when it makes sense to merge the different primitives via voxel remesh.
- After posing my Zombie, and after I put the head in the right position, the symmetry was no longer correct…couldn’t fix it. Don’t understand why, becuase the head is detached from the Rest.
At the end of Phase 2, the figures often already have a high polygon count, so a voxel remesh brings with it some problems like blurry edges, loss of detail, etc.
In the case of the zombie, for example, the hands are separate. I covered up the whole thing by putting the handcuffs on him. Without them, however, you would see the transition. The voxel remesh in advance gives such poor results that it made no sense.
The fingers, for example, were simply fused together in the Voxel Remesh, and there was no separation anymore. How do you correct something like that?


4 Likes
Just my opinion, since as we’ve established I’m certainly no professional…lol.
Ok, jokes out of the way, without seeing the whole process that you’re using, I’d say that you might be voxel remeshing a bit too high. Try lowering the resolution before hitting remesh under the voxel tab. That should help in keeping the vertex count at a more manageable level before posing. Alternatively, if you’ve already remeshed everything, go to the decimation tab and lower it from there before posing the model.
Lighting, well I suck at that, so I don’t have much of a comment there…lol.
From what I’ve seen, the voxel remesh is likely best within your first area of the process in blocking out the sculpt. If you use it beyond that, it has a tendency to fuse areas that are too close together as you’ve seen, unless you crank up the resolution which isn’t usually necessary at this stage. Knowing this, if you have a very specific model in mind, you need to pre-plan certain areas so you can get what you’re looking for without too many issues.
If your head is separate from the body, you should still have access to symmetry with local symmetry rather than world.
A small part that seems to be missing from your process is dynamic topology. Depending on the area, uniformisation and subdivision can create any additional details or even full body parts you may need.
Because I came from Sculptris, I usually start with a sphere for the head and use dynamic topology to pull out the entire body from there. So it can be done entirely without even using the voxel remesh.
1 Like
Hey Spork,
thanks for your reply, really appreciate it!
I use Voxel Remeshing, cause i saw it in the videos of Southern GFX. He uses it all the way and keeps getting higher during Primary/Secondary forms…he only starts using Multiresolution, when it comes to detailing. But i know the advantages, of staying as low as possible though.
I have an example for a case: Imagine you do a full body, like i did with the zombie, and it is split in three parts like head, body and hands. The three have differente Typo and Polygon-Counts (the head nearly a million). Would you just voxel merge the three (if so, when?During Blockout) or would you keep them separate? In that case, how would you conceal the transitions as well as possible. The problem with Voxel Remeshing is that they will lose a lot of details.
Another thing with decimation is: if you use Decimation to get rid of some mils of Polygons…you can’t go back, as it destroys your hole Typo, Model, Details etc. I only use Decimation at the end, when i want my save file smaller and when i want to 3D-Print it.
Its way easier, to work on individual areas, than a as a single large object. But it’s nearly impossible, to merge them together afterwards, when everything is detailed and rich in details…
I never used Dynamic Topology, cause i want the full control over my sculpts. Most professionals also tend to advise against it, unless you want to model wildly or make a sketch without giving it much thought. I will test Dynamic Topology!
I will say that Southern knows what he’s doing. It’s not that I’m disagreeing with his method, but I’ll explain a bit more about why I differ a bit as an answer towards the end. Maybe others can explain why I’m wrong…lol.
I would usually have everything merged in the beginning, but again, that’s more of a preference. If you wanted to get some shape to each of the parts, do a quick pose, then merge them, I can see the benefits there as well. It would be more on a case by case basis depending on the needs of the final model. Concealing seams is almost impossible in many cases unless there’s something specific to cover the model in that area, and I don’t really see too many benefits to doing it that way (sure, there could be a case out there, but I’m likely just not seeing it for most).
Once you’re done with a model, save a file. Then automatically save another file with a different name to do the decimation.
It certainly is easier to work on smaller areas without having other parts of the model flying into view while you sculpt. Nomad has a solution for this as well. Mask off either just the area that you want visible, or the area you want invisible (depending on which is easier). Then if needed, invert the selection. At the bottom of the screen is a little icon that has an eye with a line through it and says “Mask” below it. This will make the masked area invisible so you can focus on just the area you want.
I’d argue that dynamic topology is a much fuller control over your sculpt. Dynamic topology hasn’t been around all that long. I think Sculptris may have been the first to get it done. I don’t remember if Pixologic bought it from him before MeshMixer came out, but it took them quite a while before they were able to implement it into ZBrush. Blender eventually got it as well. Even though it’s been out for years, it wasn’t there for a lot of these professionals or for the people that were teaching the new professionals. So if it’s not being taught as part of a workflow, then yes, they may advise against it.
But, what really are the advantages to having a perfectly clean topology? Well, it looks nice when you are looking at the mesh. That’s not a very good reason in my opinion though. I’d say that it’s mainly for the detailing layer. To ensure that the alphas being used are maintaining a similar look in how they are applied. Depending on how close you are to the final rendered image. A similarly dense mesh with dynamic topology will do the exact same thing. As long as the mesh doesn’t have wildly different mesh densities in areas that you are texturing with the same brush, no one could possibly spot the difference. And the higher the mesh density, the better the alpha will show. If you are doing your texturing for an extreme close up, you would likely have a separate piece specific for that close up anyway. Either way, dynamic topology itself would not hinder the overall look, and in many cases would enhance it.
I’m sure those same professionals wouldn’t have an issue with the feature in ZBrush that further subdivides a small area and let’s you add in further details. That’s basically all dynamic topology is doing on a more specific, or even exactly the same area, based on how you use it.
1 Like
Thank you Spork, for your detailed view.
I will think about a few points and try a few techniques.