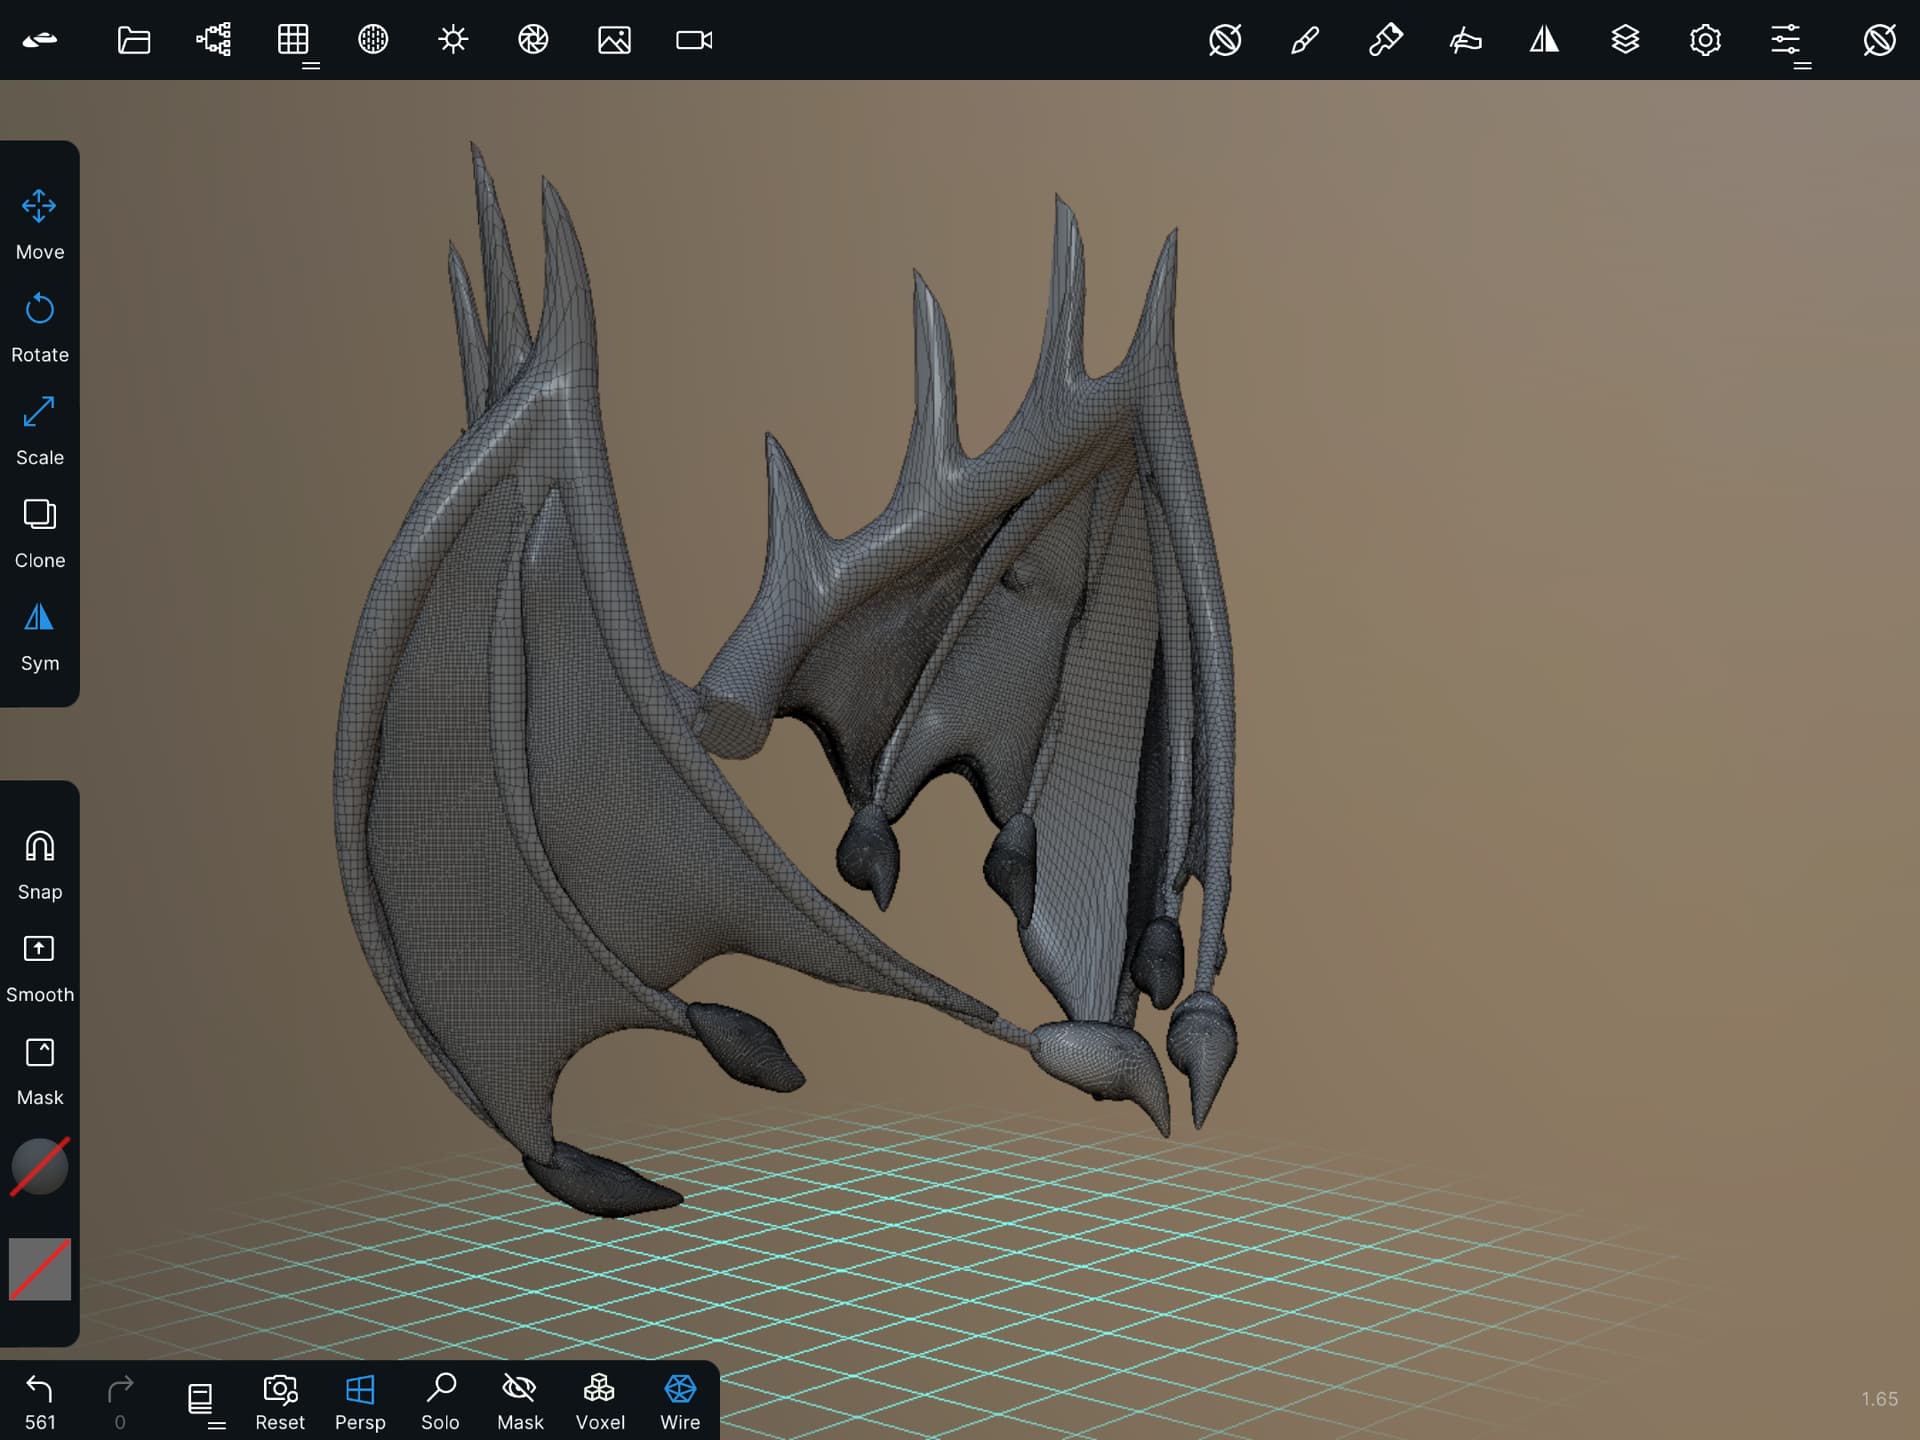
How would you fill in the area marked by red pen?
I know I could use many different angled flattened cubes, but I am wondering if anyone has a smarter solution?
A sphere or a cube scaled so that it is fn like a membrane then drag to give a more natural aspect and trim so that it adapts well. But I would start with a sphere rather than a cube so as not to be disturbed by the too clean and flat appearance of the cube.
I filled only one space I scaled then trimmed then I copied the membrane without the other space then I adjusted. but hey, there is a way to do something good, but here I was drafted for the example. 2 little tips: 1 - the sphere should not be too detailed, you can subdivide it afterwards and then to give a concave / convex aspect, do not forget to mask the borders at the level of where the membrane and the joints cross if not when you go to adjust the membranes will come out of their hanging position. In fact, I have a project on the way with this kind of wing as well, but it is by explaining to you that I have to think about this technique.
I have often issues with these very thin objects with intersections. Means backside coming through mesh. So I prefer a plane and check
You can use a plane and check two sided ON in Material menu. Further more you need to display settings (the gear on left) search for “two sided” and uncheck “coloured backface”.
Now you can place and deform the plane to your needs.
This works till you are ready for detailing with I.e. veins.
If you would detail a plane, the other side would look inverted.
Before detailing, I would use the mask brush, tap on the brush settings on top icon and choose “invert” to mask all. Or use SelMask with lasso or rectangle to select all. Now go to brush mask settings again and search for extract.
Make sure “shell” is checked.
Above extract there are two sliders. Shell thickness will define the thickness of the new geometry generated with extract.
After pressing extract, you’ll find a new geometry in your scene menu.
I would hide the plane but keep it as backup.
Select the geometry called “mesh”
Add a layer via layer menu and add details. With layers you are keeping the base mesh and the Details separated. That will be an advantage if you want to change later some parts. You can erase parts from layers with the DeLayer brush
Maybe you see that the resolution is not high enough for adding details. Simply go to mesh menu, choose Multires and press subdivide.
Wings are a membrane, pretty thin I think. I would go with a plane with a lower polycount to get the shape. Your results are almost there though so good job, I would try thin it out and get rid of some of that lumpiness.


")