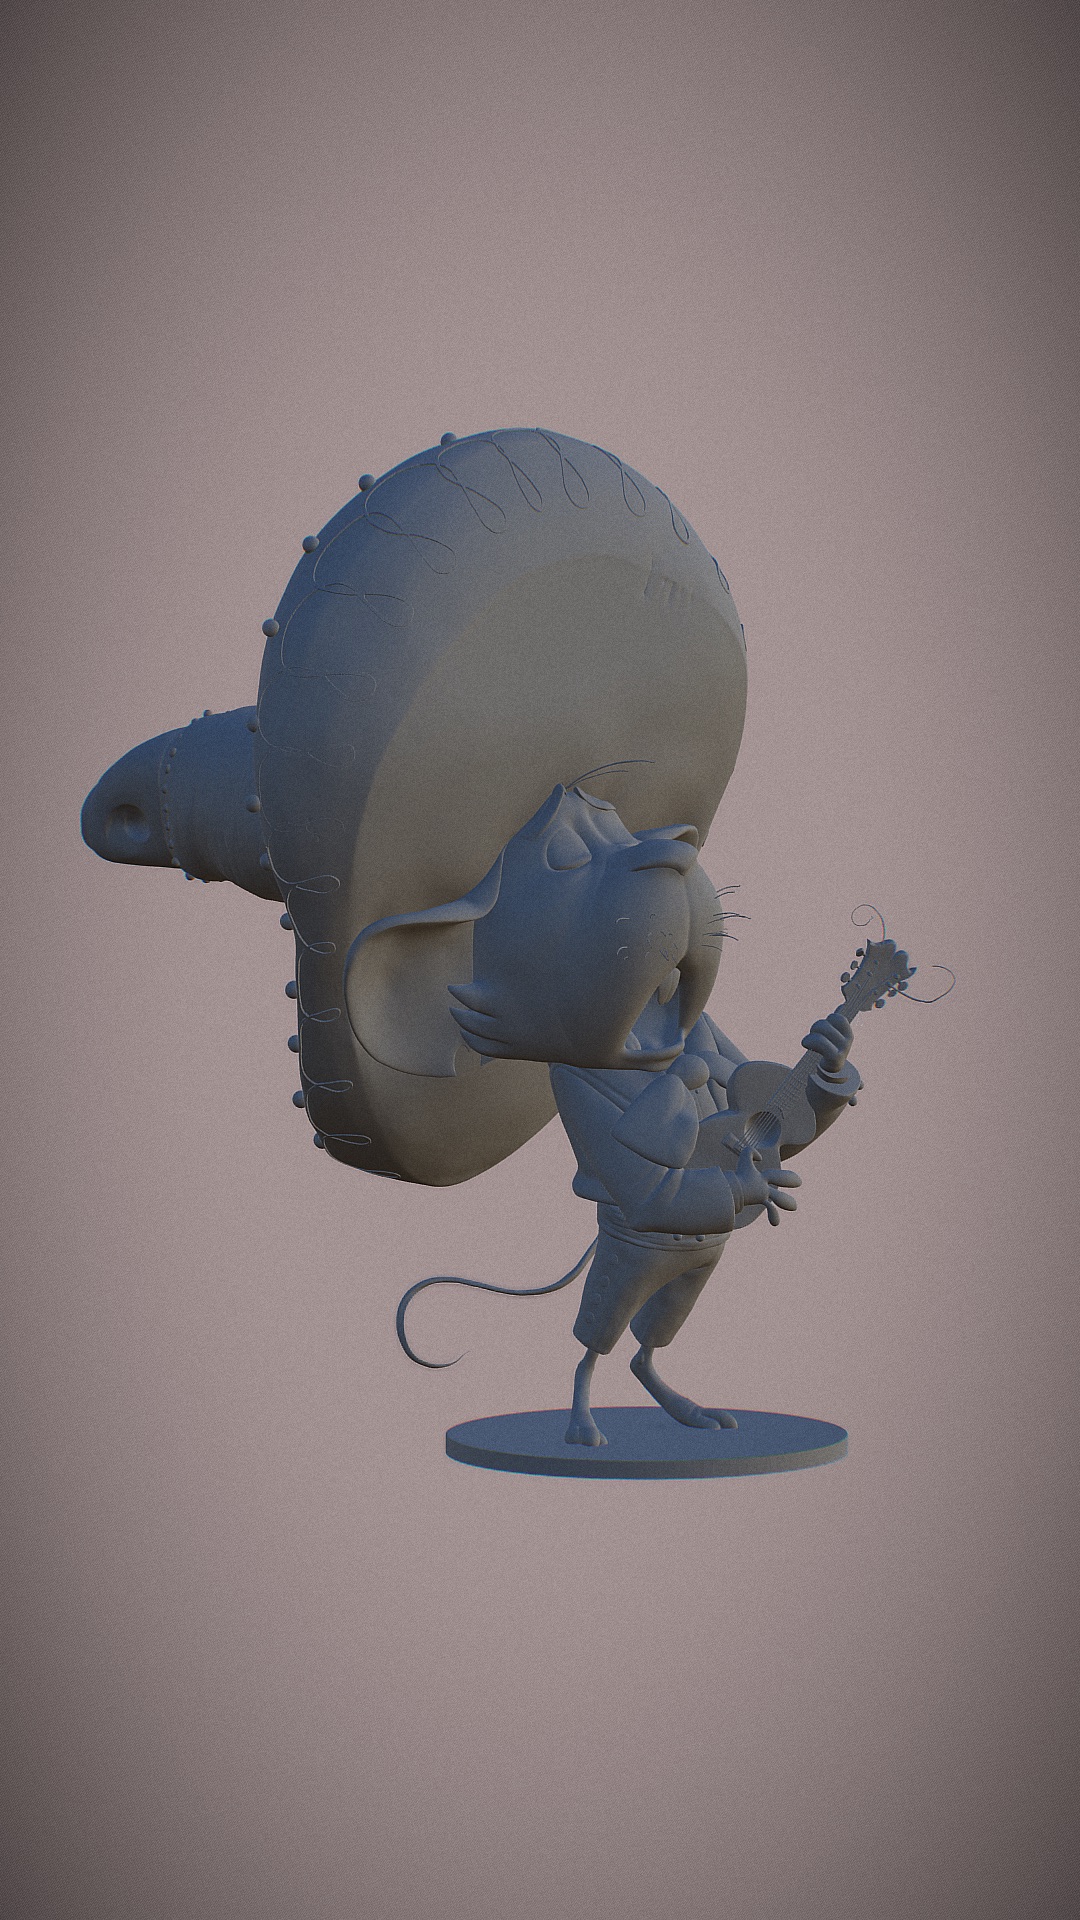
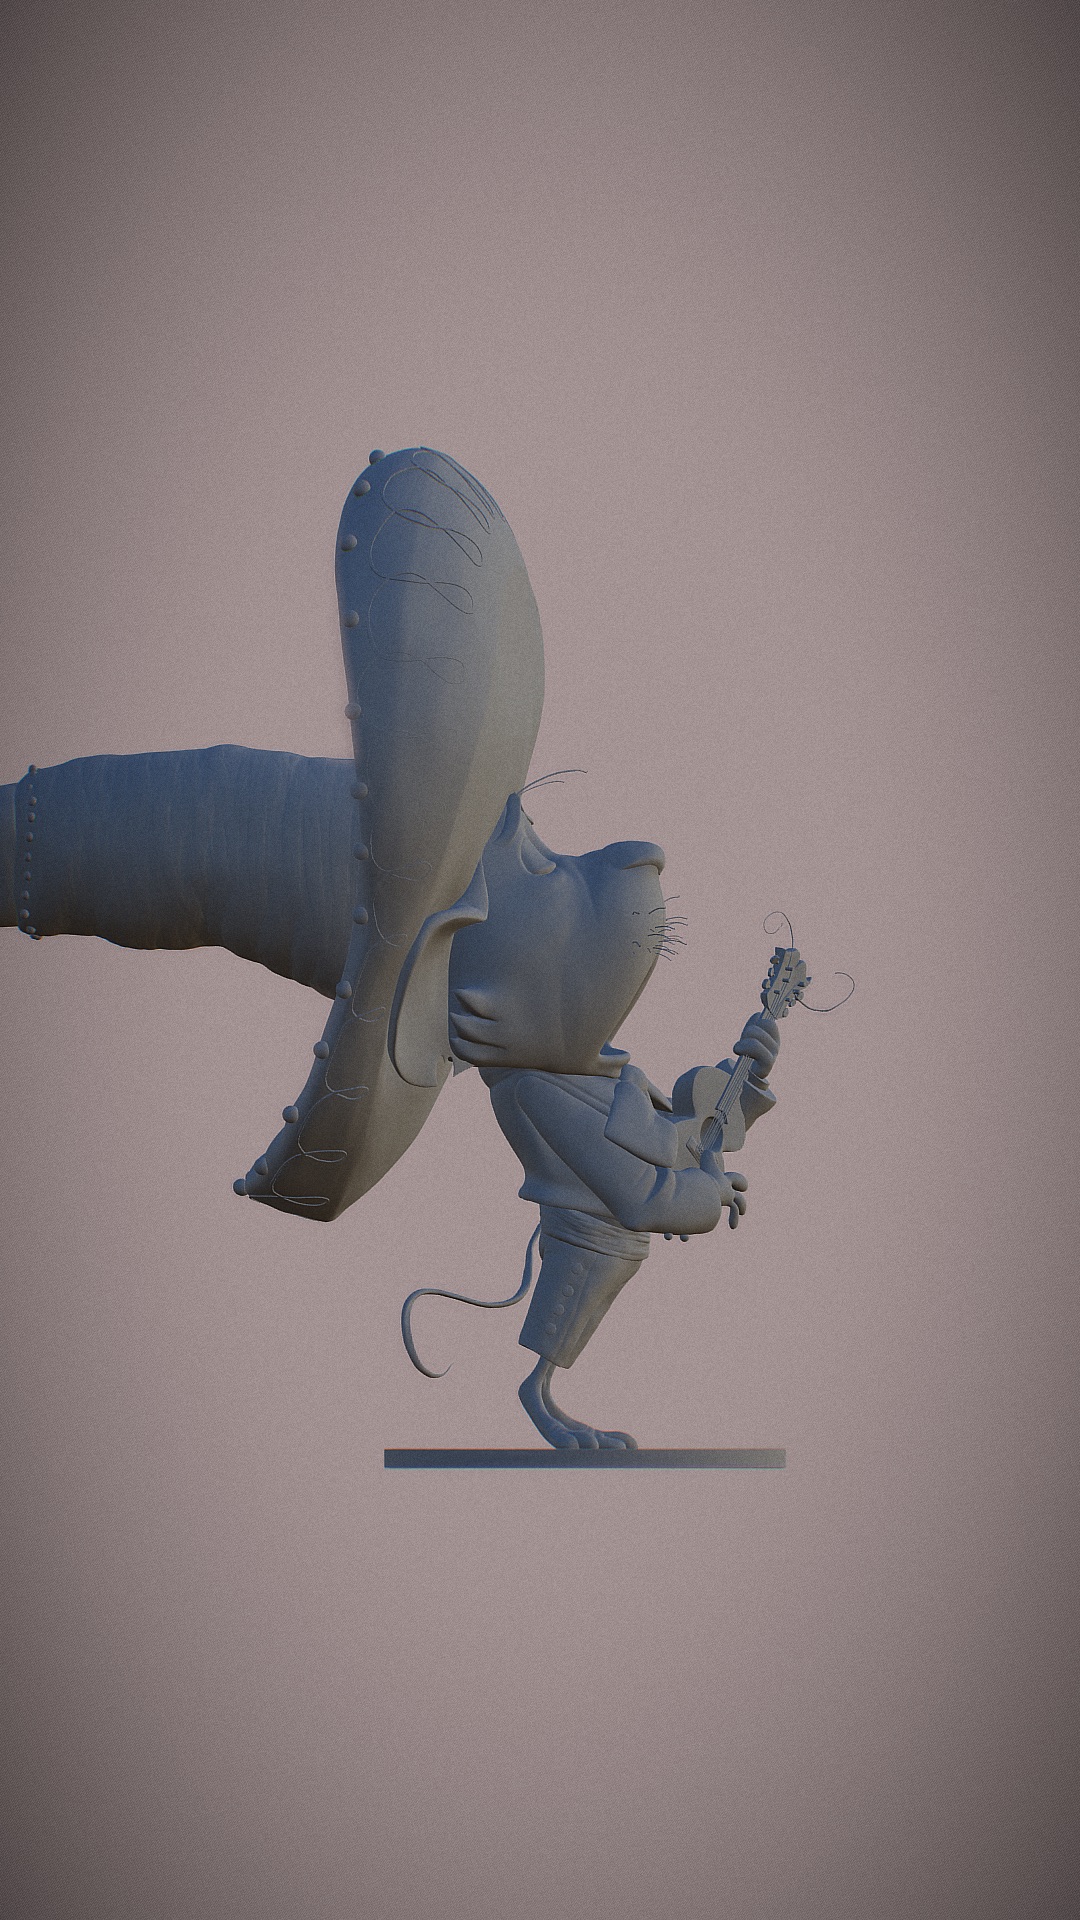
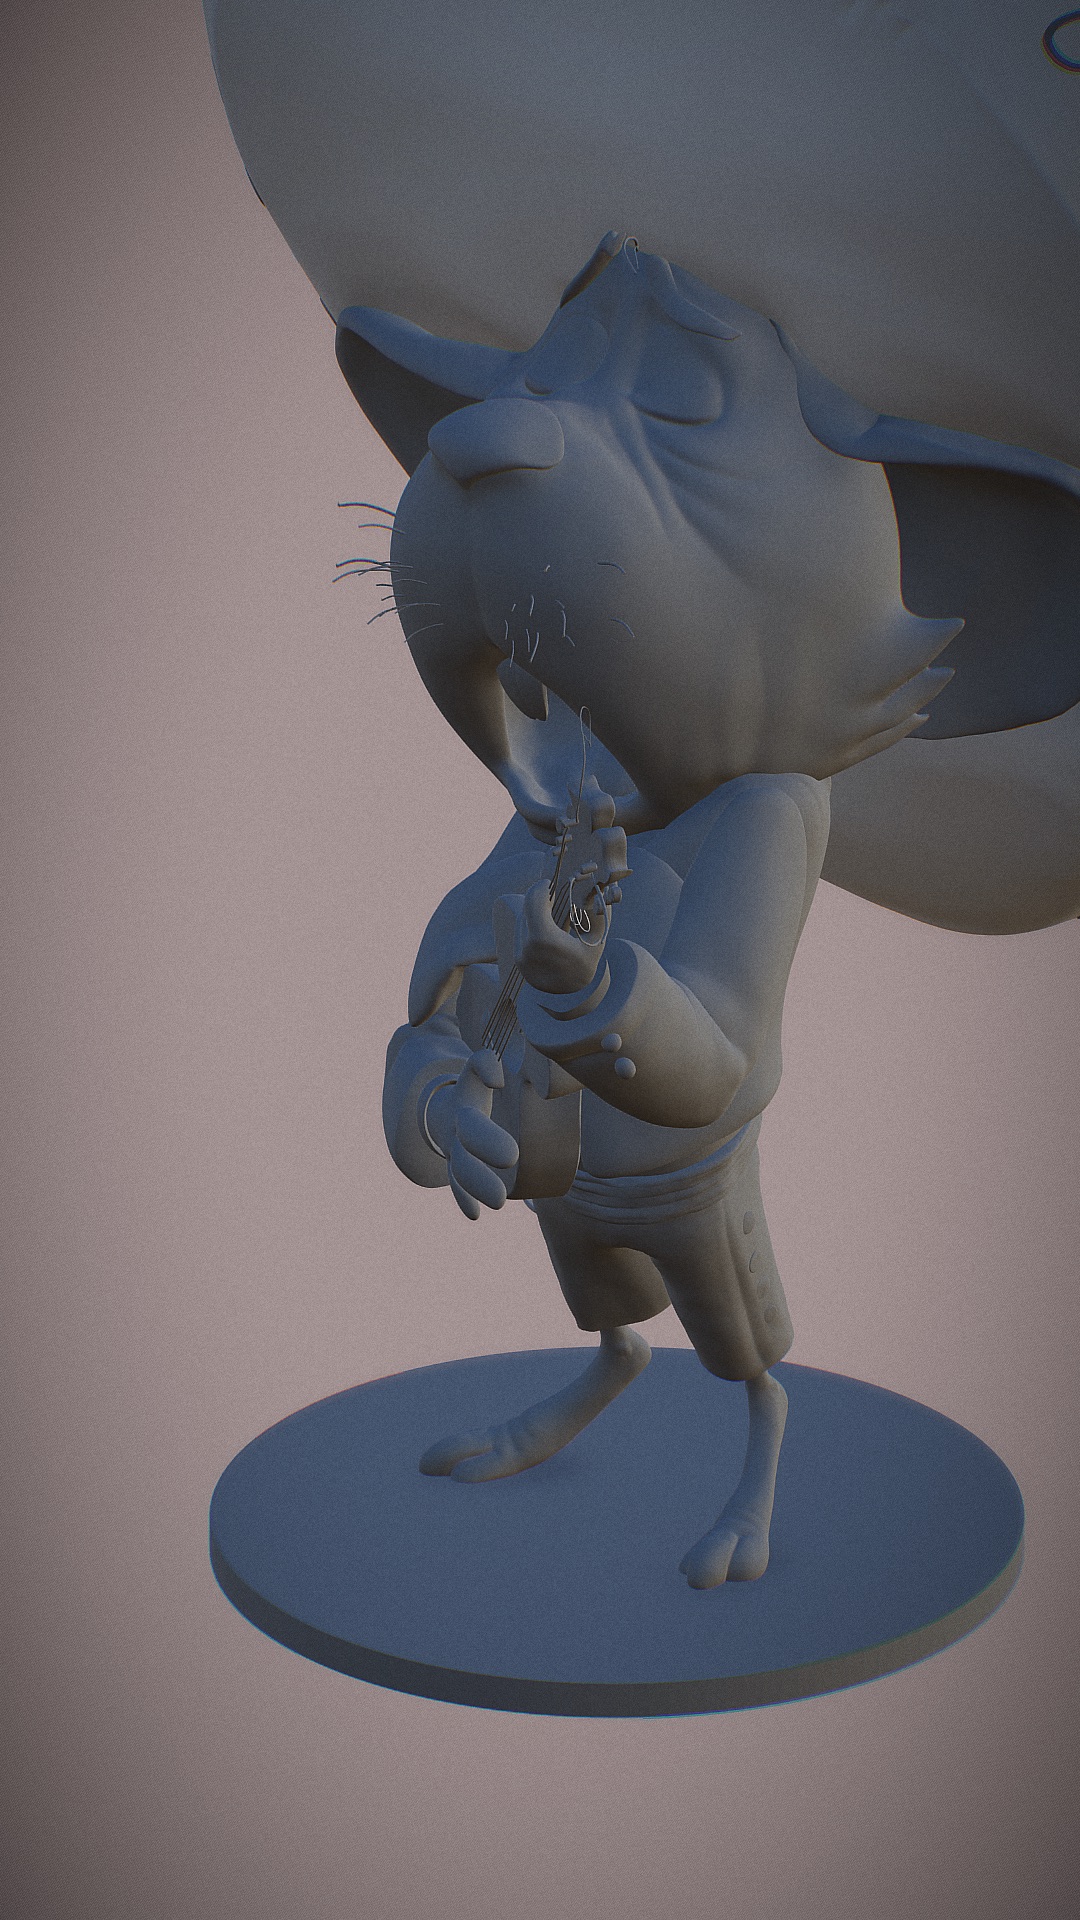
Sculpt based off a character design by Andy Estrada
Thank you for this app, Stephane!!
That looks great 
Thanks Dave!
Very nice indeed! 
Thanks Adam!
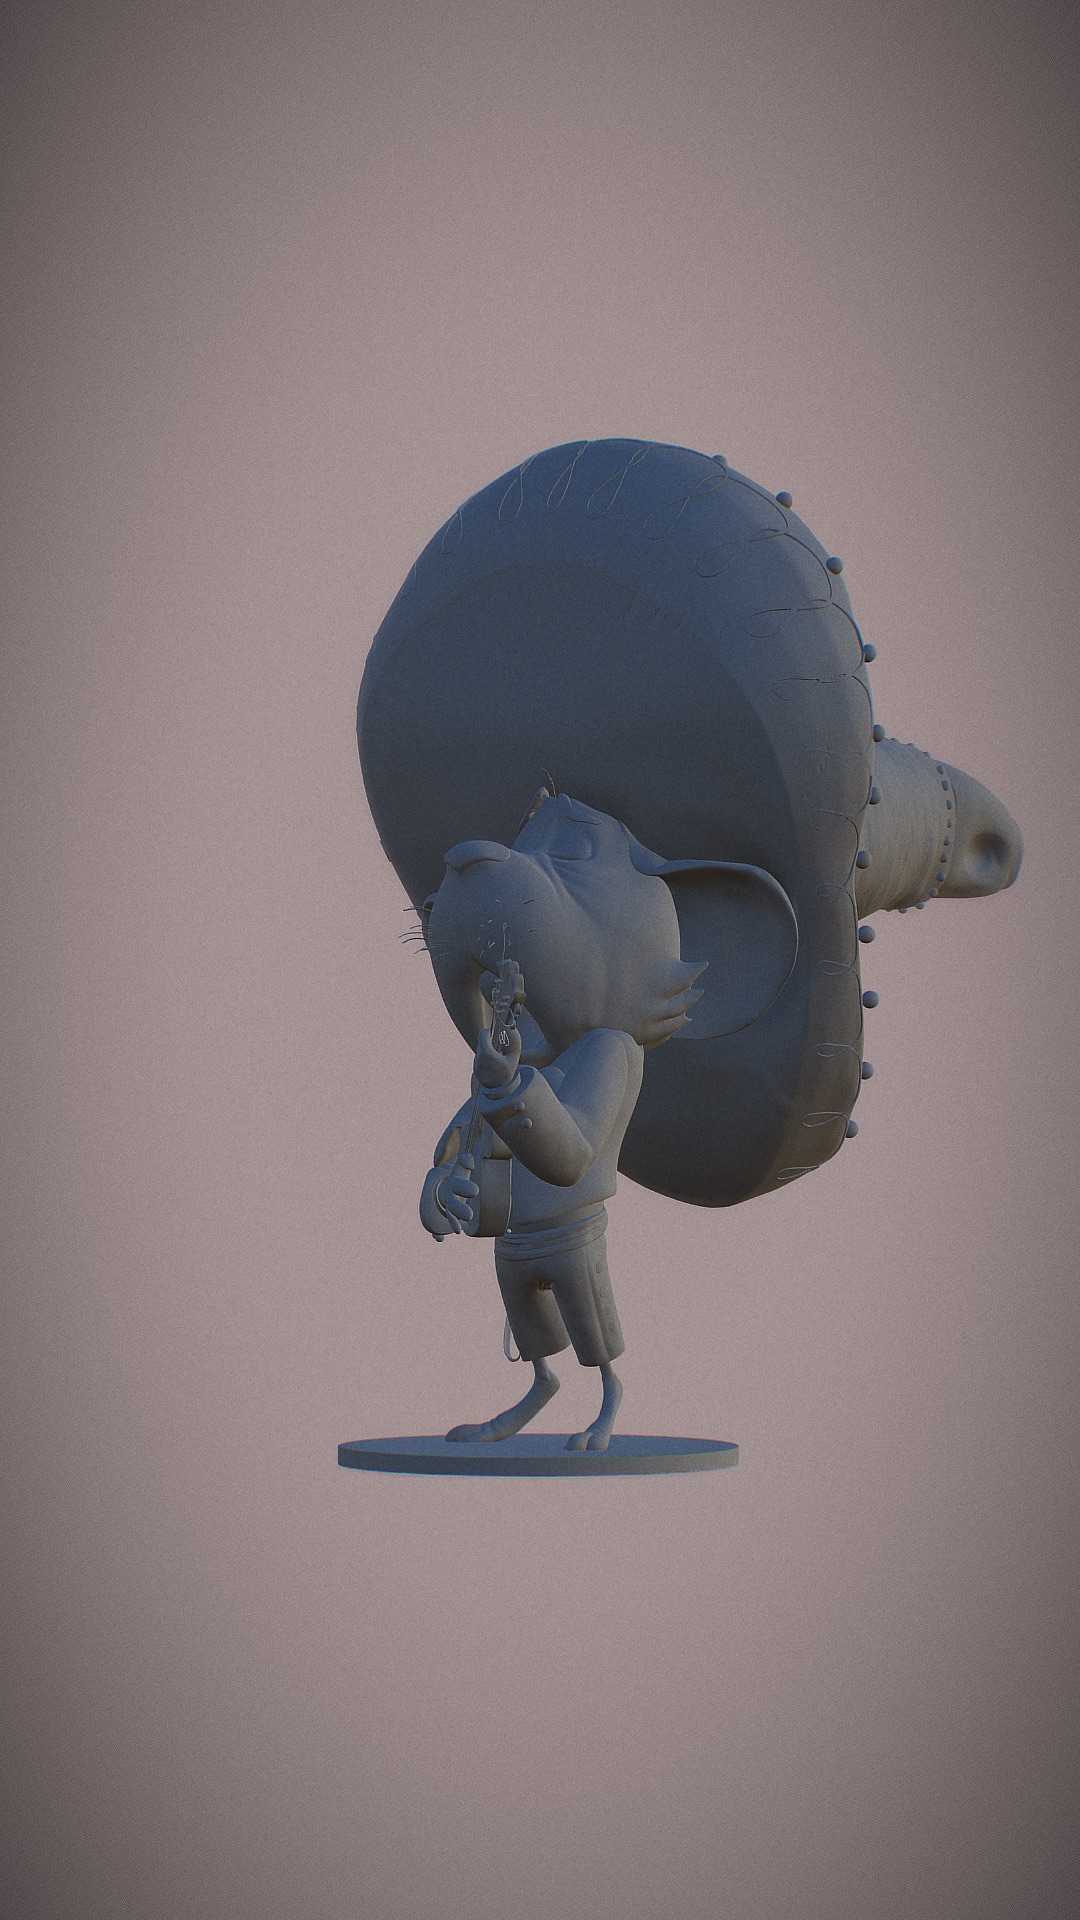
Not quite sure if you are using the new lights/shadows and ambient occlusion effects. If you are still looks great and if not it would be nice to see with updated lighting. 
Very nice!
I can see the vignette, grain and chromatic aberration and a little bit of Ambient Occlusion (under the feet).
This is great!
Thanks Stephane!
Can’t thank you enough for this app. What a pleasure! And super intuitive!
Thanks very much!
I had used them, but sparingly (and without adding an actual light - just using the default HDRI)
Here’s a quick version that uses the awesome new features more clearly.
Cheers
C
Awesome details - how did you do the string on the hat / guitar strings / whiskers without ZBrush? With a lot of patience perhaps?
Thanks Cris!
My basic workflow is simple enough: I just create primitives and then scale/move/trim them into place.
hat / guitar strings / whiskers all started out as basic cylinders.
For the whiskers I made one simple curved cylinder of the right size, then duplicated it several times and positioning each piece. For the guitar strings I moved & scaled one cylinder into place for the first string, then duplicated that five times and moved each one down slightly.
For the hat, the top is just a cylinder. The band around it is a duplicate of that cylinder scaled up & with the top trimmed off. The brim of the hat was initially a flattened sphere that I quickly pushed and pulled to find the right curvature and silhouette. Once I was happy with it, I decided to use a cylinder instead (but having the flat sphere already in place helped a lot, as a guide).
I name everything and have many pieces in my scene (would love the ability to group things together).
Patience helps, but right now I have the luxury of doing it for the sheer joy of it, without any deadline or client!
Adding a light definitely makes the character pop. Looks great!
I’m sure you’ll play around with the lighting more. I use the HDRI as more of a subtle fill light and use two lights. One light for the main light source and the other for a rim light to highlight the characters edge.
Look forward to seeing more of your work.
Thanks so much for the detailed run through of your process. I’ve been learning ZBrush over the last few weeks and when I saw those cool strings on the hat I immediately thought of the curve brushes that they have. I can’t wait for Stephane to work that brush (or something similar) into Nomad as I’d much prefer to used Zbrush as little as possible. This kind of modelling has nothing to do with my day job of architecture so it’s a bit of a hobby interest, but I’ve maybe not got as much patience as you have. 
Np
Curve brushes would be a great added feature. I’m excited to see this app develop.
Just to clarify: the embroidery type stringy loops on the hat brim didn’t actually require much patience.
I did it this way:
With my recent learning of Zbrush techniques, I think maybe I’d approach the string on the hat with the mask extraction technique. I think that when I saw the stringy part to the brim, it looked like you’d modelled a single piece and then duplicated it across the hat. Nice work & how good does it look with some of the new post-pro features!!
Yes, the mask extraction is exactly what I was going for with my work around. Thanks very much, Cris!
Just noticed the mask settings has an ‘extract’ button btw! Works great